The first tumbler I ever sublimated came out with a seam you could spot from across the room. I had a press, I had a wrap printed on the good paper, and I had no idea the design had crept a quarter inch sideways while I was taping it down. That tumbler went in the bin, and I sat on the garage floor for a minute deciding whether drinkware was worth the trouble.
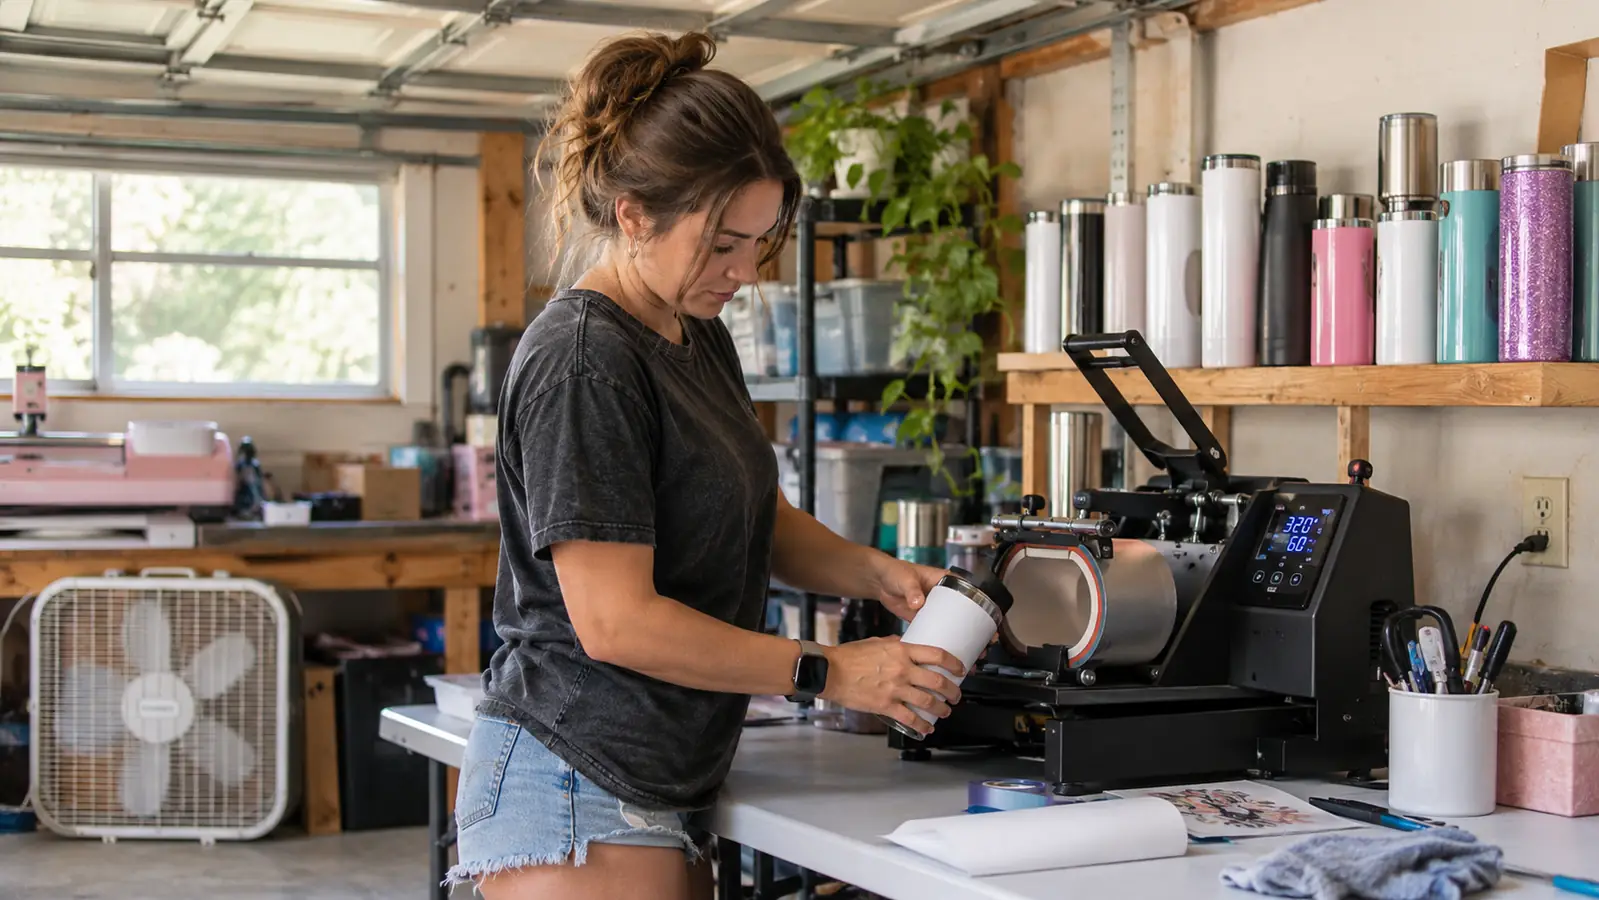
Here is what I wish someone had said to me that afternoon. A tumbler press takes most of the guesswork out of this. I run the HTVRONT Auto Tumbler Heat Press on a folding table in my garage in Independence, and the part that matters is not the heat. It is that the press holds the blank and the wrap still and squeezes the whole thing evenly for as long as you told it to. You stop being the variable. That is the whole game with sublimation on curved drinkware, and it is why the worst part of the learning curve disappears once you have one.
If you have already tried the oven method or the pot of boiling water, you know why people go looking for a press. Both can work. Neither forgives a loose wrap, and neither holds the blank steady while the coating takes the ink. A press does one job and does it the same way every time, which is the only thing a small side business actually needs from its equipment.
The press that holds the wrap still so you can stop being the variable
The HTVRONT Auto Tumbler Heat Press takes blanks from 2.9 to 3.2 inches in diameter and 10 to 30 oz, holds anywhere from 210 °F to 390 °F, and releases the heat pad with one button when the cycle ends. It is the tool I reach for on every tumbler order.
Amazon Check Today's Price on Amazon →Below is the order I actually work in, plus the mistake I made at each stage so you can skip past it. None of the steps are hard. They are fussy, and fussy is where beginners lose money on blanks.
Step 1: Pick a blank the press can actually hold
Not every tumbler on the craft store shelf will fit. This press takes blanks from 2.9 inches to 3.2 inches in diameter and between 10 and 30 oz. Before I buy a new style, I lay a ruler across the body of the cup. If it falls outside that window, it goes back on the shelf no matter how nice the finish looks. I learned that one after buying a case of slim water bottles that were never going to work.
Diameter is the number that matters, not height. A tall bottle and a short fat tumbler can both work as long as the body sits in that range, because the pad wraps around the cylinder instead of pressing down on a flat surface. Blanks with a heavy taper or a wide handle fight you the whole way, and the wrap will not lie flat no matter how carefully you tape it. The last time I got this wrong was a set of wide mouth cups I picked up on clearance in February, on the theory that a bigger cup meant a bigger design space. They measured a hair over three and a third inches at the body, which is past the top of the range this press will take. That extra sliver is the difference between a pad that closes around the blank and one that leaves a soft, pale stripe down one side of the wrap. Those cups hold pens on my shelf now.
The finish matters as much as the size. Straight stainless and powder coated blanks take a transfer differently, and a rough texture grabs the paper and holds it unevenly. If you are trying a new style, buy one, run it, and look at it in daylight before you commit to a case.
Buy two of any blank you have not run before. One to learn on, one to keep. The first is going to be imperfect and that is a lot cheaper than learning the same lesson on a paid order.
Step 2: Print the wrap mirrored and sized to the blank
Sublimation prints go onto the paper backwards. Turn on the mirror option in your printer settings before you send anything. I forgot once on a set of six tumblers for a church group and printed a whole afternoon of work right reading, which got me nothing but a pile of wasted paper and an apology.
Measure the printable area of the blank, not the whole cup. Most tumblers curve in at the top and toward the lip, and a design that runs into that curve looks smeared at the edges even when your transfer was fine. I mark my wrap height with a pencil on the paper before I cut, and I leave a little paper past the seam so the design does not stop short of itself.
Print a couple of hours ahead when your schedule allows it. Fresh ink is wet, and wet ink smears when you handle the sheet. Letting it sit stops that. I also print one spare sheet for every order, because paper is cheap and a reprint at nine the night before a pickup costs me my evening.
Keep the paper flat. A sheet that has been curled up in a drawer will not lie against the tumbler cleanly and you will spend ten minutes fighting it, and the fight shows in the finished wrap. Mine lives in the original pack with a book on top.
Step 3: Tape the wrap so it cannot creep
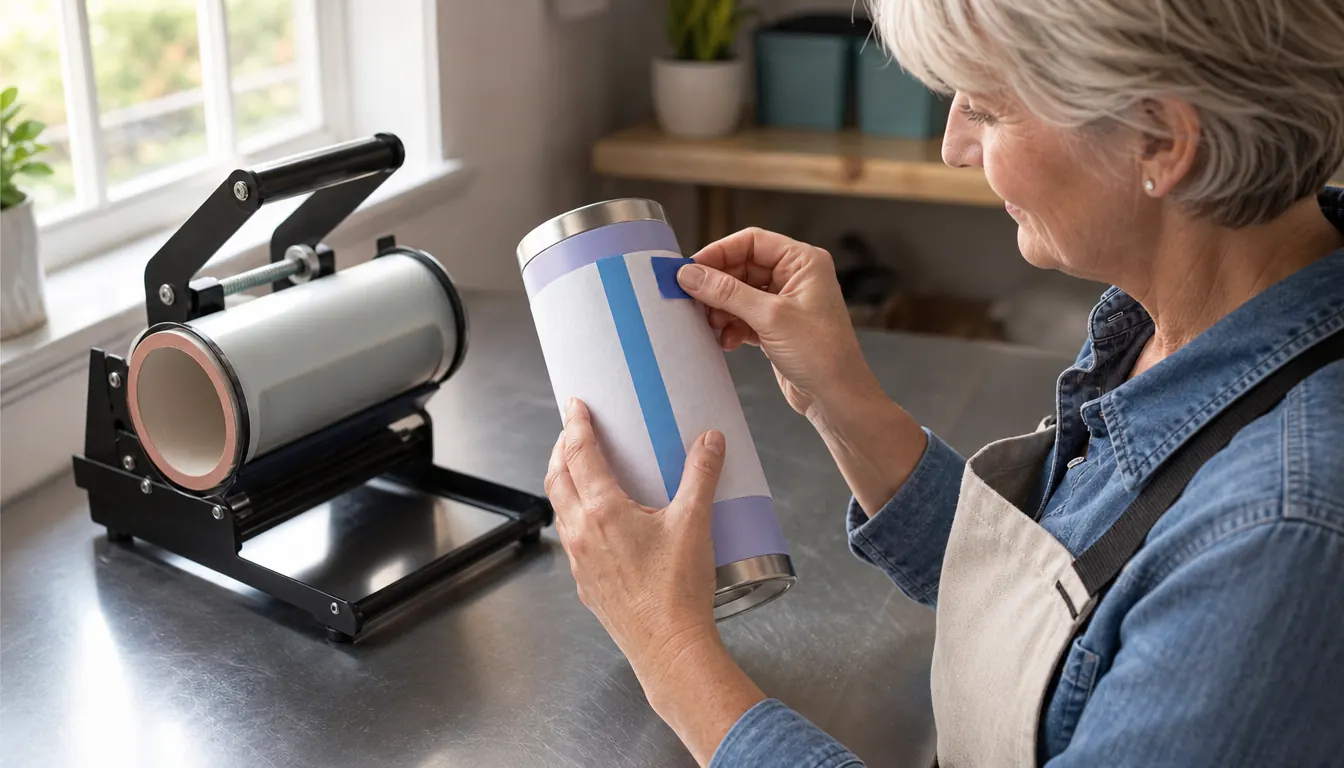
This is the step where most ruined tumblers are made. Heat resistant tape, pressed down along the seam and around both edges of the wrap. Not painter's tape and not masking tape. The proper tape holds through the heat and peels off clean afterward.
Work from the seam outward, pressing the paper down as you go so no air gets trapped underneath. If a bubble forms, lift the paper back to that point and lay it down again. A bubble shows up as a pale patch in the finished design and there is no fixing it afterward, only starting over. The worst one I ever did was a tumbler I taped on the kitchen counter in a hurry because Gary was already in the truck waiting on me. I put a crease in the paper about the width of a fingernail near the bottom rim. It came off the press with a white line running straight through the last letter of a name. The blank was one of a pair, so I could not even use the spare for anything but practice. Now I tape at the work table with the fan off and nothing else on my mind.
If you are running a full wrap rather than a small logo, tape the seam first and the top and bottom edges second. The seam is the one that has to line up. Once it is locked down, the edges only need holding.
When it looks right, run your thumb around the whole wrap one more time before the tumbler goes anywhere near the press. Thirty seconds of fussing here is the difference between a finished order and a blank in the bin.
Step 4: Set the temperature, set the cycle, and step back
The press runs anywhere from 210 °F to 390 °F, and your paper will tell you which end of that range it wants. Follow the paper. Not a number you saw in a video, not a number that worked on somebody else's blanks. I write the temperature and the time on the outside of the paper pack with a marker so I am not looking it up on every single order.
Load the blank, let the pad close around it, and let the cycle run. The HTVRONT Auto Tumbler Heat Press does the pressing on its own once it is set, which is the reason I can finish four tumblers in an afternoon instead of one. You are not standing over it leaning on a handle for the whole cycle, and that matters more than it sounds when there are a dozen to get through before supper.
When the cycle ends, press the R button. It halts the heating and releases the heat pad instantly, so you are not wrestling a hot blank out of something that is still squeezing it. Then take the tumbler out with a cloth or a heat glove and move straight on to the last step.
Give the press a minute or two to come back up between tumblers if you are running a batch. Back to back cycles on a cold morning drag the heat down, and the last one through will not take the ink as strongly as the first. I found that out in November, running eight tumblers for a family reunion on a Saturday when the garage never got above fifty degrees. Numbers five through eight were noticeably lighter than numbers one through four, and I redid two of them. Now I give it a full two minutes before the next blank goes in, and I leave the door to the house open so some warm air finds its way into the garage.
Step 5: Peel while it is warm, then let it cool face up
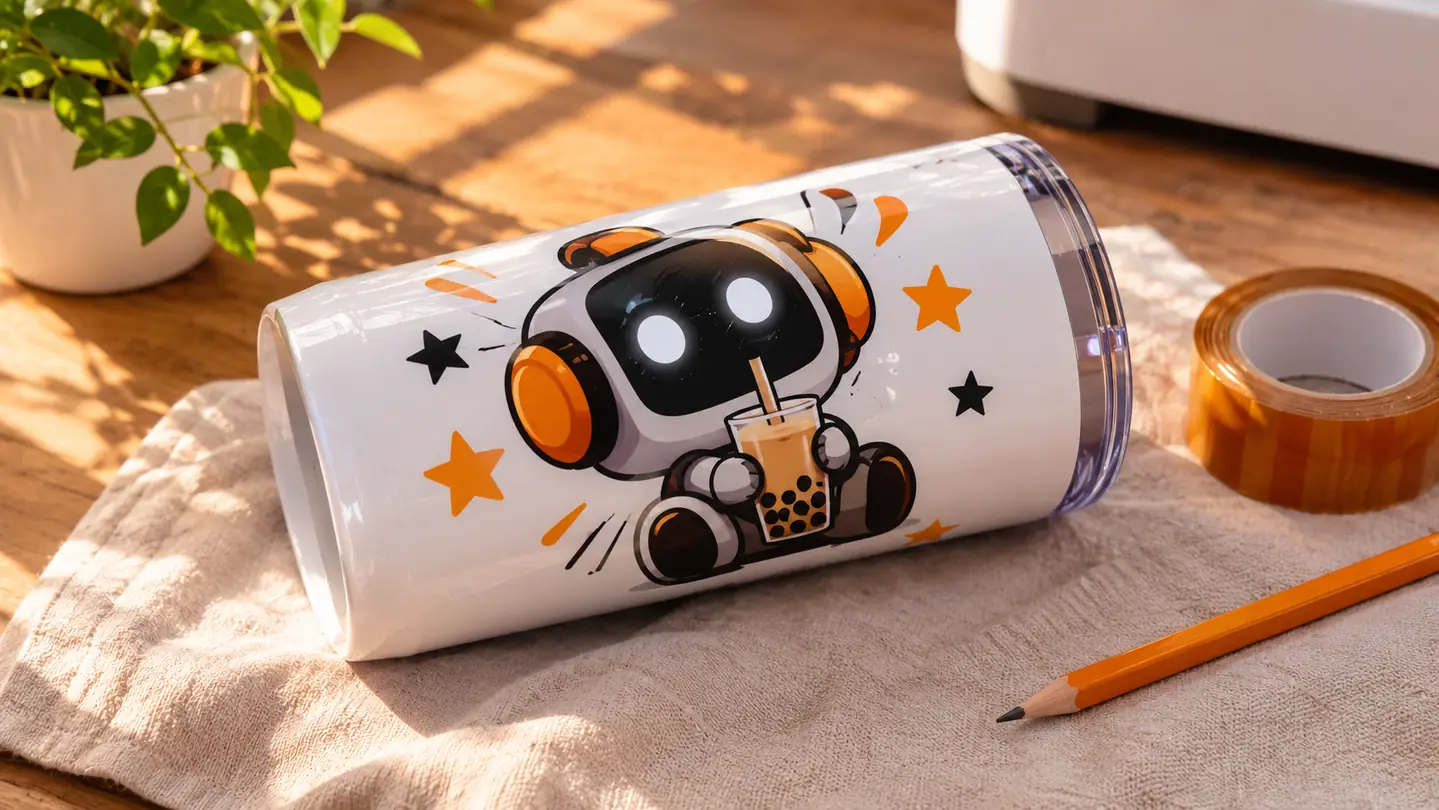
Peel the wrap off while the tumbler is still warm. Waiting until it is cold is how paper sticks to the coating and tears the design on the way off. Pull from the seam, slow and even, and let the paper come to you instead of yanking at it.
Set the finished tumbler on its side with the design facing up and leave it alone until it is cool to the touch. Do not wipe it and do not stack another one on top of it. The coating is still settling as it cools and it will pick up marks it should not.
Label the bottom with a small piece of tape and your initials while it cools. When there are four on the table at once and they all look alike, that little label is the only thing standing between you and mixing up a customer order.
Then wash one by hand before it goes out the door. If something was going to lift or crack, I want to find that out in my garage instead of hearing about it from a customer three days later.
A bubble under the tape shows up as a pale patch in the finished design. There is no fixing it afterward, only starting over.
What Else Helps
A ruler and a roll of heat resistant tape will save you more blanks than any upgrade you can buy. So will a notebook. I write down the blank, the paper, the temperature and the time for every new combination I try, because in three weeks I will not remember which of the six styles on my shelf took the transfer better. Mine is a spiral notebook with coffee on the cover and no organization I could explain to another living person, but I can flip back to October and see that a particular 20 oz blank wanted less time in the press than its paper suggested. That one line has kept me from running the same experiment three more times.
Store blanks standing up in the boxes they ship in and keep them out of the sun. A coated tumbler picks up dust and fingerprints, and both of those come through the transfer as cloudy spots you cannot polish out afterward.
A timer you can hear from across the garage is worth more than a fancy one, and a box fan near the work table is worth more than most of the gadgets I have bought. Heat and fumes in a closed garage are a bad combination, and my fan has done more for my finished work over four summers than anything else on that table.
And practice on the ugliest blank you own before you touch anything a customer is paying for. My first six tumblers were not good. The seventh was fine. That is the normal curve for this, and anyone telling you otherwise is trying to sell you something.
One press, one afternoon, four tumblers done
The HTVRONT Auto Tumbler Heat Press takes blanks from 2.9 to 3.2 inches across and 10 to 30 oz, runs from 210 °F to 390 °F, and comes with a one year warranty.
Amazon Check Today's Price on Amazon →