The first printer I bought for this work was not a sublimation printer. It was a regular inkjet, and I gave it a whole weekend: the conversion kit, the flushing, the new ink, a color profile I did not understand and could not explain to anyone. Then I ruined six shirts before I got one transfer that came out clean. That is the beginner tax nobody warns you about. A ready to go machine like the Brother Sublimation Printer skips most of that, and skipping it is where the real savings hide.
Below are ten reasons, roughly in the order I would explain them to a friend who just unboxed a press and is nervous about wasting money. Some are about the machine itself. Some are about the mistakes it stops you from making before you make them. All of them come back to the same arithmetic: every blank you do not ruin is a blank you did not pay for twice. Here is the list.
Stop paying the beginner tax before your first blank
A dye sublimation printer that arrives ready to print, with the Artspira app doing the design work and four standard inks doing the rest. See the current price and the full listing on Amazon.
Amazon Check Today's Price on Amazon →You skip the conversion kit entirely
Converting a standard EcoTank style printer means buying a kit, flushing the lines, filling with sublimation ink and loading a custom profile. Get any step wrong and your prints come out dull and washed out, nothing like what you see on your screen. You may also be waving goodbye to the warranty. The Brother Sublimation Printer arrives as a dye sublimation printer, with nothing to convert and nothing to flush, and it carries a limited warranty instead of an argument about whether you voided it.
The design work happens on your phone, not in software you rent
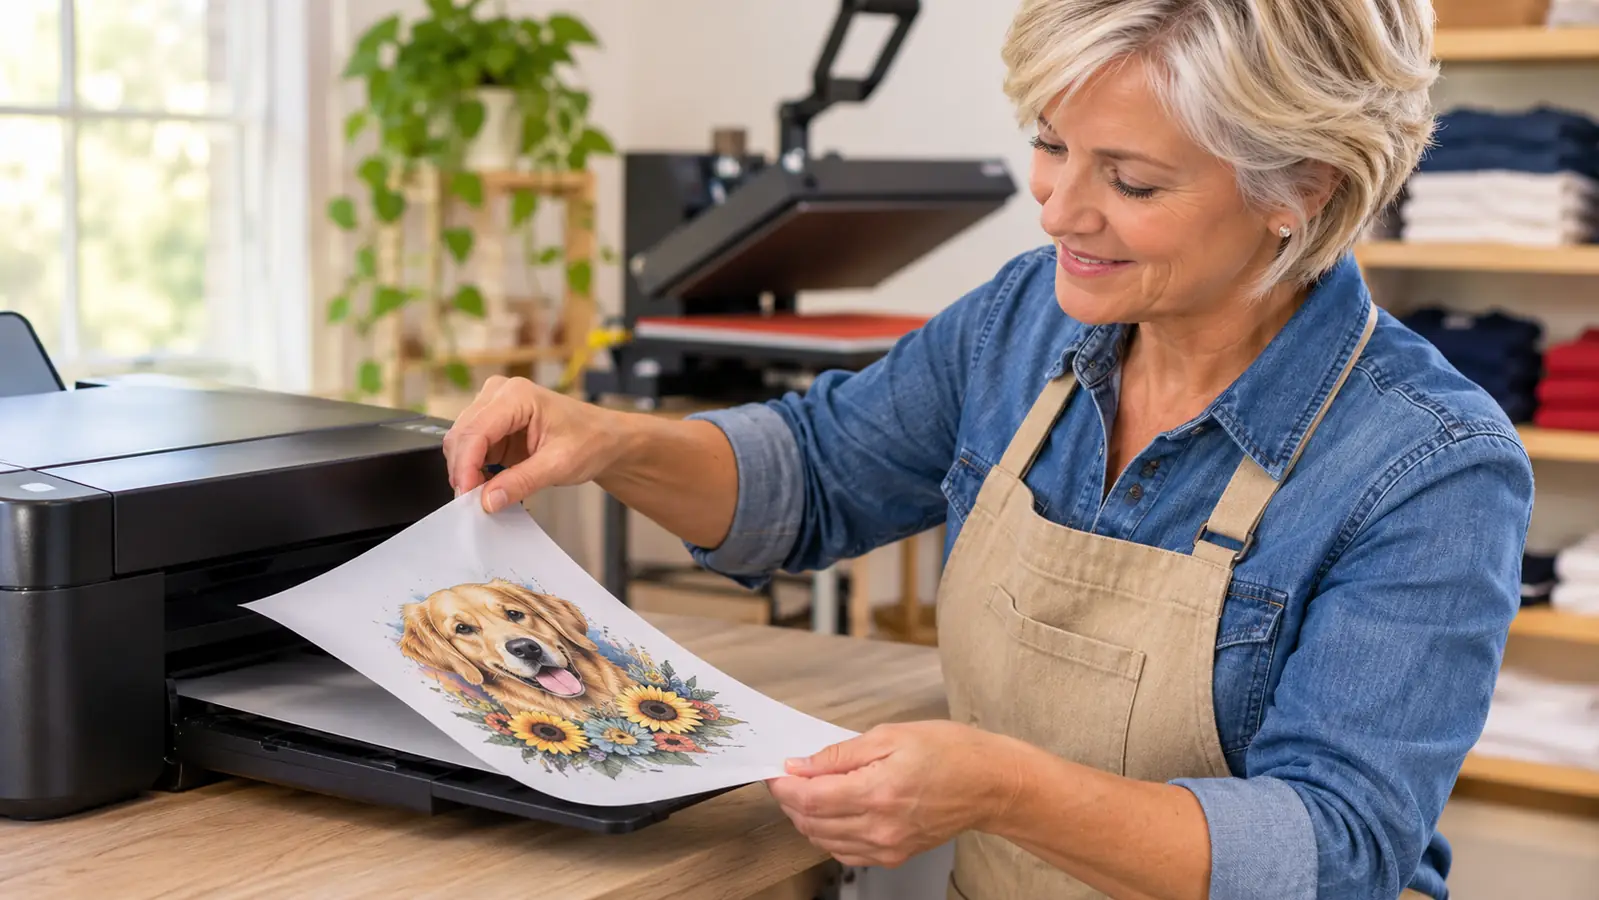
Artspira is the app this printer is built around, and it is where you import and save your designs. You can keep up to 20 printing images saved in the app. That sounds small until you realize those 20 slots are your repeat sellers: the team logo, the church picnic design, the two reunion shirts that come back every single year. I do not need a design program with a monthly subscription to put a logo on a tote. I need to open an app, pull the file and send it.
The four inks are the ones you already expect
The Brother runs cyan, magenta, yellow and black. That matters more than it sounds. With a converted printer you spend your first weeks chasing an ink profile off a forum, then wondering why your reds print orange and your navy prints purple. On a machine built for dye sublimation, the color side is the manufacturer's job, not yours. You still have to press at the right time and temperature. You are just not debugging ink chemistry on top of it.
It prints on fabric and on thermal paper, so one machine covers two jobs
The listed print media are fabric and thermal paper. In practice that means you can run transfer sheets for shirts, totes and mugs, and you can also work with fabric directly. One machine, two lanes. For a beginner that is a bigger deal than it looks, because the usual path is buying a printer for paper, then discovering three months later that you need something else for the fabric jobs people keep asking about.
It fits on the folding table you already have
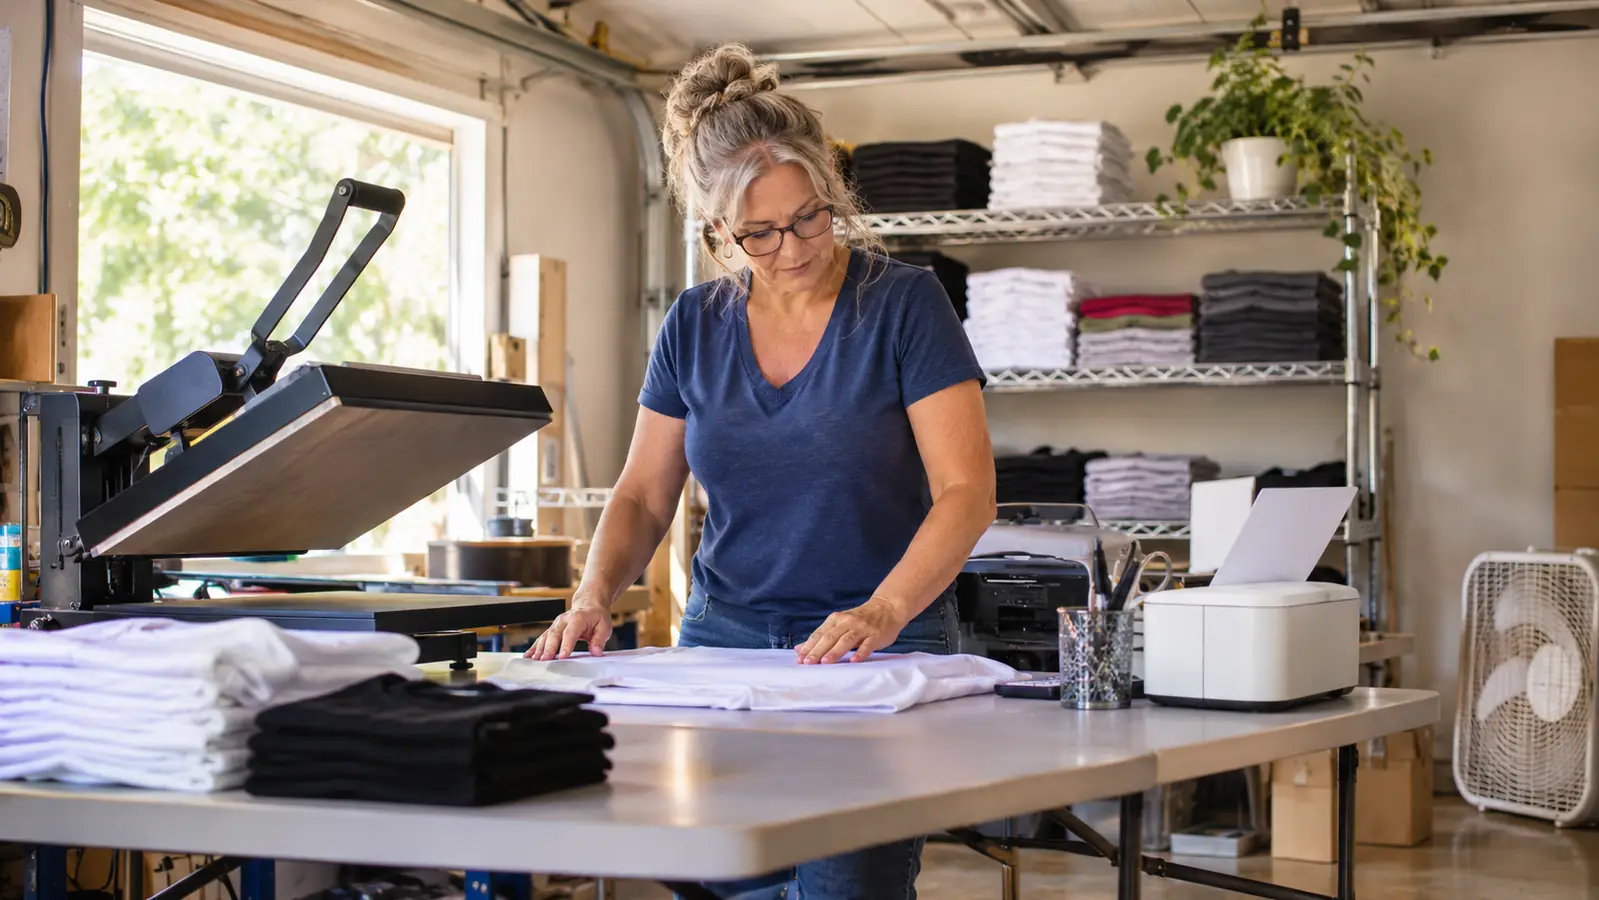
At 7.9 pounds and roughly 20 inches wide by 11 inches deep, it sits on the same long folding table as my press without a fight. My whole setup is a converted one-car garage, one table, a shelf of blanks and a box fan I run in summer. There is no spare corner for a floor standing machine. If your workspace is a card table in a spare room, this is the sort of footprint that keeps the printer and the press within arm's reach, which is exactly where you want them.
Every blank you ruin is a shirt, a tote or a mug you already paid for and cannot sell. That is the cost nobody puts in a beginner guide.
Touch control and an LCD screen cut the guessing
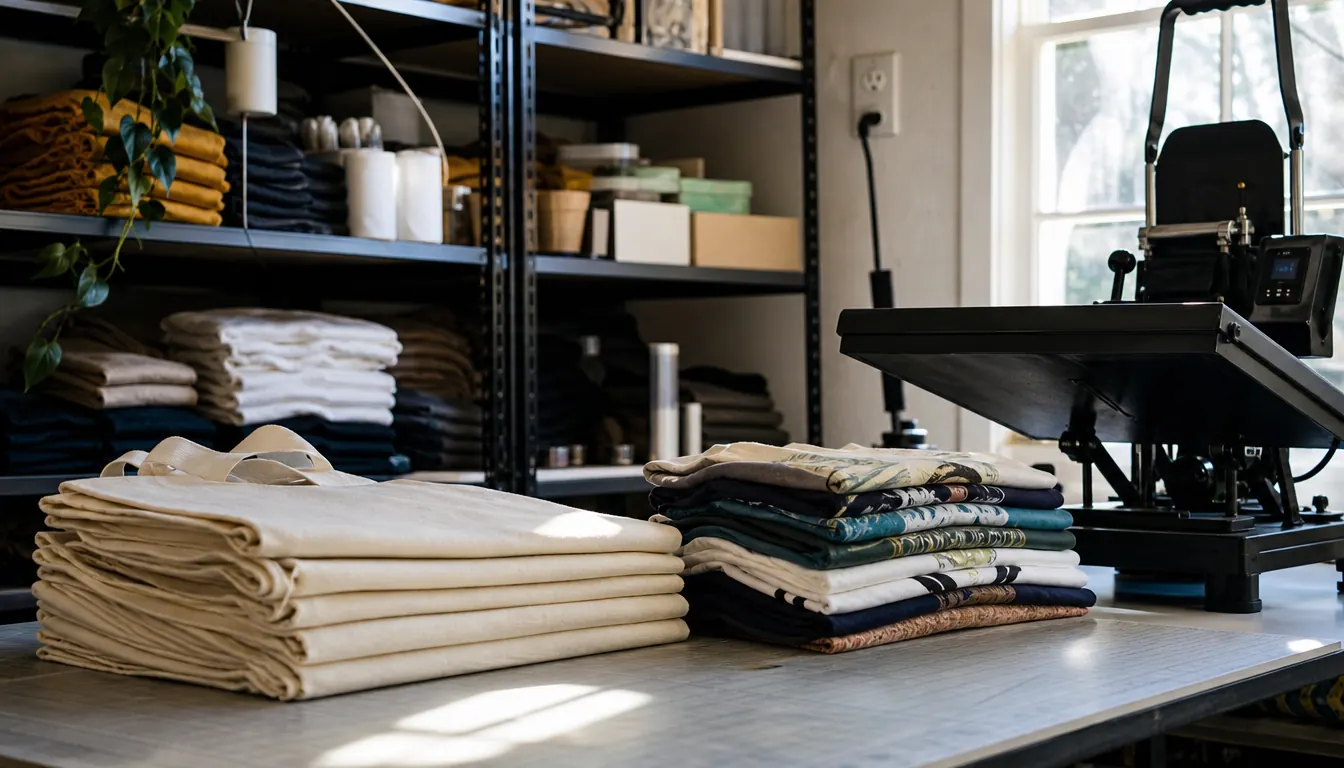
The control method is touch and there is an LCD display. That reads like spec sheet filler until you have stood in front of a printer at nine at night trying to remember which paper setting you used the last time. Being able to see the setting and tap it beats squinting and hoping. Fewer misprints means fewer blanks in the trash, and blanks in the trash are the quiet budget killer in this hobby.
The workflow is short and always in the same order
The whole process is design in Artspira, transfer the file, print, heat press, finish. Five steps, in that order, every time. Beginners lose money when they improvise: pressing too hot, printing on the wrong side of the sheet, cutting a transfer they then cannot reuse. A fixed sequence gives you a checklist, and a checklist is the thing that keeps your waste down during the first month when you are still learning what a good transfer looks like.
You can print a batch instead of one shirt at a time
Team shirt orders do not arrive one at a time. They arrive as twelve. Printing the whole run in one sitting means one warm up, one settings check, one clean up, instead of three separate evenings of the same fiddling. The savings there is time, and time is the thing you have the least of when you are pressing shirts after work. Batching also means your settings stay consistent across the run, so shirt twelve looks like shirt one.
Low waste lets you quote small orders honestly
When I started, I padded every quote because I expected to ruin one shirt in four. That padding made my prices look silly for a five shirt order, and I lost the small jobs to people who did not have to pad. Once your waste drops, you can quote the actual number of blanks plus a sensible margin, and a four tote order suddenly makes sense to take. Fewer ruined blanks is not a slogan. It is the difference between a job being worth doing and being a favor.
Your budget stays in blanks instead of experiments
There is a real temptation early on to buy every gadget: the second press, the mug attachment you use twice, the printer you convert because somebody on a forum said it was cheaper. A dedicated machine takes that excuse away. The Brother does one job, the four inks do that job, and the money you are not spending on experiments goes into blanks you can actually sell. That is the entire argument in one sentence.
What I'd Skip
I would skip the giant starter bundle with forty blanks in colors you will never sell. Buy a five pack of the shirt you actually plan to use, in the size you actually plan to sell, and learn on that. The same goes for the twenty piece press attachment kit. You will use the flat platen for months before you touch anything else, and the extra pieces just sit there being money you already spent.
I would also skip the cheapest transfer paper you can find. Thin paper curls in the printer and scorches under the press, and a jam or a scorch costs you more than the difference between cheap paper and decent paper. Buy a small pack of good paper, learn what a clean transfer looks like, and then decide whether the cheap stuff is worth the risk. It usually is not, and that is coming from someone who tried it twice.
The cheapest beginner purchase is the mistake you don't make
One printer, four standard inks, the Artspira app for design, and a short fixed workflow from file to finished piece. Check the current price and the full spec list on Amazon before you buy anything else.
Amazon Check Today's Price on Amazon →