
Short answer first. If you just bought your first heat press and you want one pack of paper that will not fight you while you learn, buy the A-SUB Sublimation Paper in 8.5 x 11 inch, 110 sheets. It feeds flat, it releases cleanly, and it gives you the same result on the last sheet as it does on the first. If you already know your press well and you want something to sacrifice on test presses and setting samples, a budget stack from the craft store will do that job and nothing more.
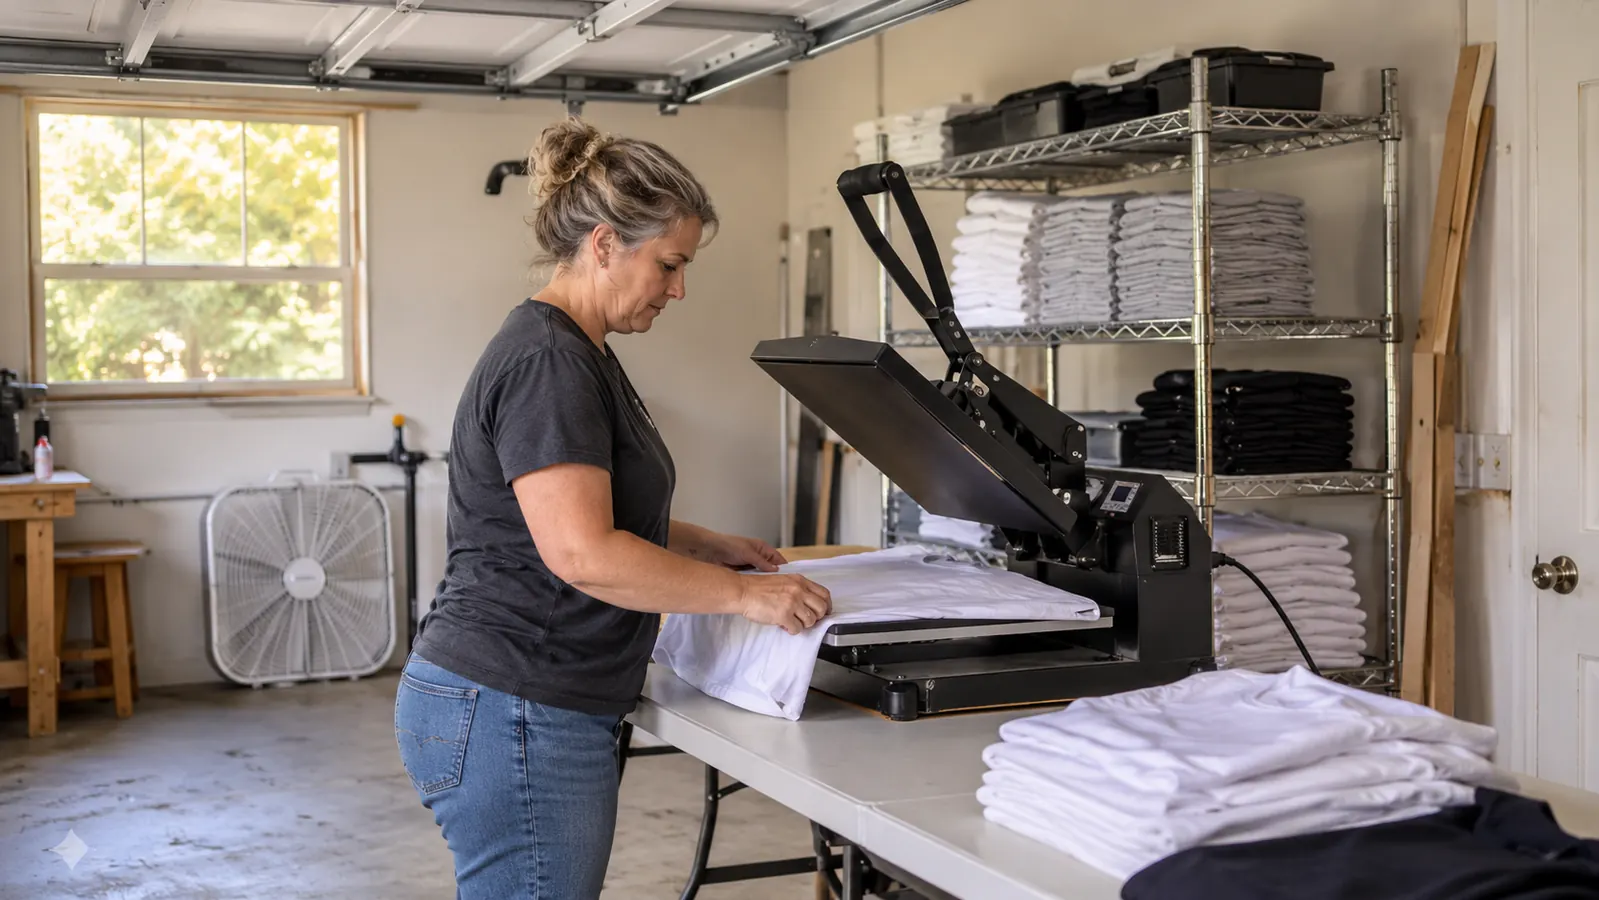
I have been pressing shirts, totes and mugs out of the converted one-car garage behind my house for about four years. I started with team shirts for my grandson's baseball league, and I learned most of what I know by ruining blanks. Cheap paper was a big part of that education. So this is not a theory comparison. It is what I noticed after running both papers through the same press, on the same blanks, at the same settings. When I say cheap paper here, I mean the lightly coated packs with no brand on the wrapper and no weight printed on the box. The A-SUB pack prints its size, its sheet count and its weight right on the label, which tells you which of the two is at least trying to be a known product.
| A-SUB Sublimation Paper | Budget Sublimation Paper | |
|---|---|---|
| Sheet count and size | 110 sheets at 8.5 x 11 inches, enough for a run of shirt fronts and tote panels | Often 100 sheets, and some packs are cut slightly narrow at the edge |
| Paper weight | Listed at 125 g with a coated finish, stiff enough to feed without flopping | Usually lighter, and it flops and folds on the way into the feed path |
| Curl out of the pack | Lies flat on sheet one and on sheet 110 | The top sheets were already curling at the corners when I opened the box |
| Release and ghosting | Coated finish lets go evenly, no shadow left on the blank | Uneven coating grabs at the corners and leaves light patches |
| Color on light polyester | Transfers close to what I saw on the screen, even across a large panel | Comes off washed out and needs extra heat to catch up |
| Consistency through the stack | Same feel and same result from the first sheet to the last | Varies from batch to batch, so my settings stop being reliable |
| Upfront spend per sheet | More per sheet | Less per sheet |
| Buying it on a Saturday afternoon | Online order, so I have to plan ahead | On the shelf at the local craft store, 12 minutes from my driveway |
| Practice and setting samples | Fine, but every wasted sheet stings | Exactly what it is for, cheap enough to burn on purpose |
| Best for | Anything a customer is going to pay for | Learning the press on blanks you plan to keep |
How I Tested Both, and What I Was Watching For
Same press, same blanks, same settings, alternating papers. I ran light polyester shirts, a few cotton blend tote bags I already had on the shelf, and one short run of ceramic tile coasters. Shirt settings on my press sit at 385 degrees for 60 seconds at medium pressure. Tote panels get 400 degrees for 45 seconds and a warm peel. I did not change a single number between the two papers. The only variable was which sheet I pulled out of the box.
What I watched for: how the sheet feeds, whether it curls at the edge, how much pressure it takes to get a full transfer, whether the release leaves a ghost of the design on the blank, and how the color holds after the first wash. I also watched how I felt pulling a sheet out. That last one sounds soft, but it matters. If a sheet feels like a gamble, you press worse. You press harder to compensate, and pressing harder is how edges get sharp and blanks get scorched.
A note on the notebook, because it is the reason I can tell you any of this. I keep a spiral notebook on the shelf next to the press and I write down the date, the blank, the temperature, the time, and which paper came out of the box. That is not discipline, it is a bad memory. When I started this comparison I had 14 pages already filled with settings I had tested once and forgotten. The first budget-paper run of the morning went on the page as 400 degrees, 45 seconds, warm peel, and the note next to it says pale on the corners, one coaster ghosted. I ran the same design at the same settings on an A-SUB sheet twenty minutes later and the note says nothing at all, which in my notebook means it worked.
The first thing you notice with the A-SUB pack is that it sits flat in the tray. It is listed at 125 g with a coated finish, and you can feel both of those things with your hand before the press is even warm. You can also read the label, which tells you 8.5 by 11 inches and 110 sheets. The budget stack I compared against had no weight on the wrapper, and the top three sheets were already curling at the corners when I opened it. That was the whole comparison in miniature, honestly.
Where A-SUB Wins
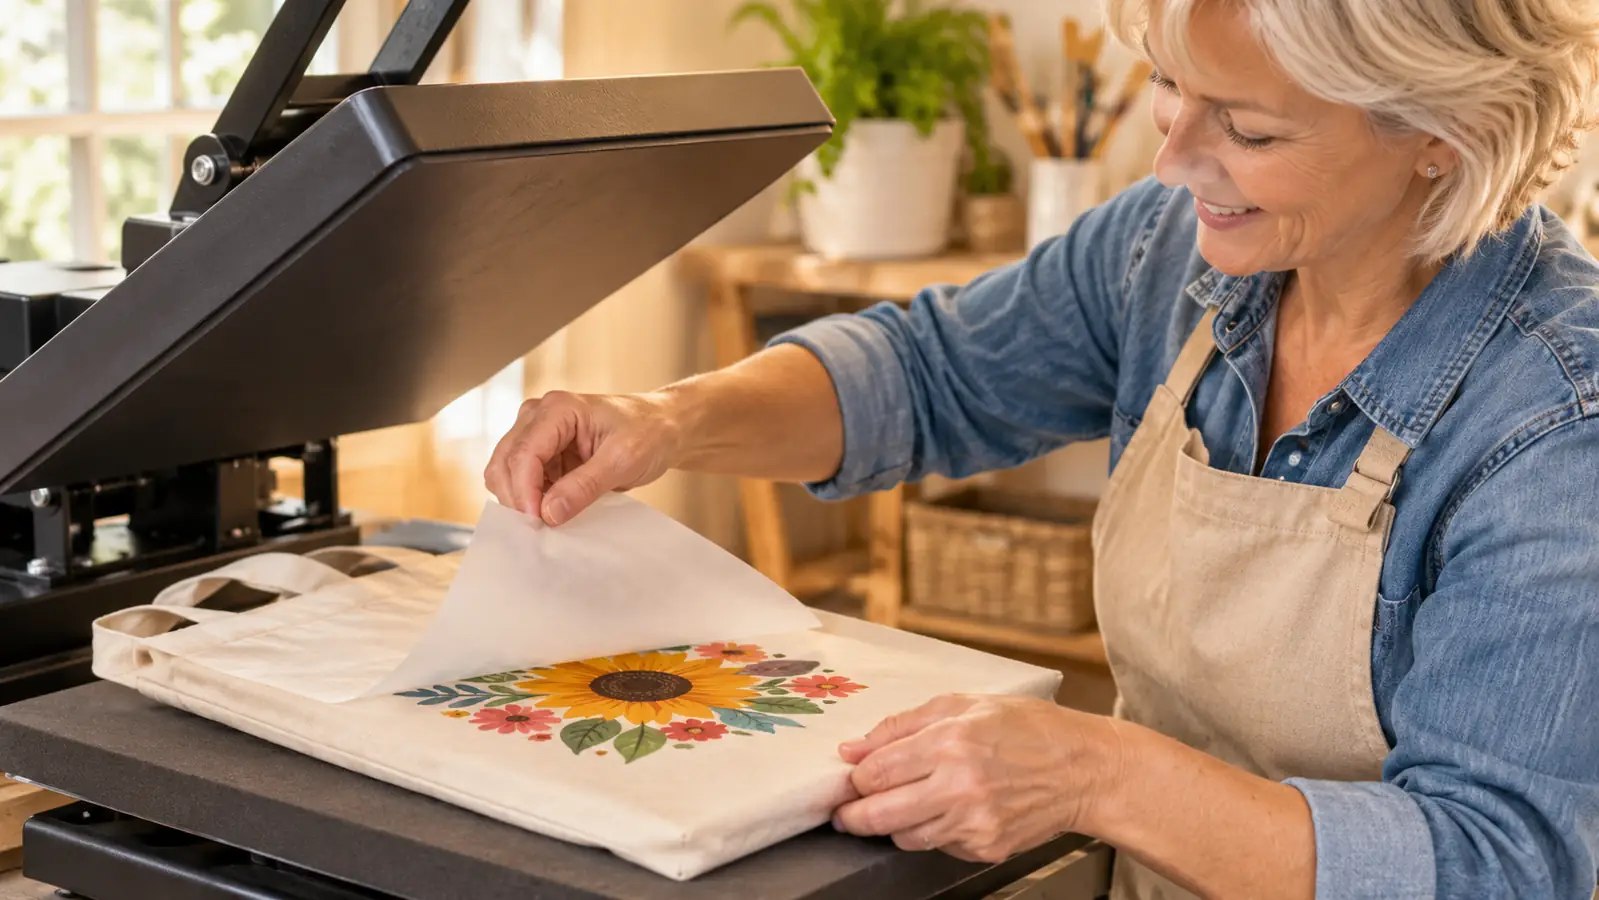
It wins on predictability, and predictability is the whole ballgame when a customer is waiting on you. Sheet one and sheet 110 behave the same way, so the settings I dialed in on Monday still work on Thursday. The coating lets go evenly, which means I am not standing over the press guessing whether a corner is going to grab and leave a pale patch across the front of a shirt. On light polyester the color comes off the sheet close to what I saw on my screen, and it holds across a large panel instead of fading toward one edge.
A concrete run, so this is not just a feeling. In March I did 24 canvas totes for a church group, one design, all at 400 degrees for 45 seconds with a warm peel. Twenty-four totes means twenty-four sheets, and I went through the A-SUB pack straight from the top. The first tote and the last tote came out the same. I peeled every one warm at the corner and the sheet let go evenly with no drag, and I did not have a single panel where the ink held on and left a lighter patch. When I did a run that size on budget paper the year before, I remade four of them, and I could not tell you which four until after the wash.
It also wins on the things you only notice after a few dozen presses. It does not jam. It does not leave a shadow of the design on the blank from a partial release. And it does not push me into the trap that cheap paper sets: you get a dull transfer, so you add time and temperature to force it, and then you scorch the blank or get a hard shiny edge where the transfer sheet pressed in. The A-SUB sheet does its job at the settings I already trust, which means the fix for a bad print is me, not the paper.
Where Cheap Paper Wins
Two places, honestly. The first is upfront spend per sheet. If you are doing test presses, learning what 385 degrees actually feels like through the handle, or dialing in a blank you have never touched before, you do not need a good sheet. You need a sheet. Burning through a budget stack while you learn is not a waste, it is tuition, and the cheap stack is the cheaper tuition by a wide margin. I still keep a small pack for the first press on any new blank I have never run before.
The local pack I keep is 8.5 x 11, 30 sheets, and I go through maybe six of them in a month. When a customer hands me a blank I have never pressed, a poly blend I have not run or a tote with a coating I cannot identify, the first piece goes through on a cheap sheet with a scrap of artwork I do not care about. If the blank scorches, curls, or takes the ink badly, I have lost a sheet and a test print instead of a good sheet and somebody else's blank. That is a job cheap paper does better than good paper, because I am not flinching while I do it.
The second is that you can buy it on a Saturday afternoon. When I run out of paper on a Friday night with an order due Sunday, the local craft store is 12 minutes away and open until eight. The A-SUB pack comes from an online order, and if I have planned badly, that is a wait I have to sit through. Buying local at the last minute is a real advantage, and I am not going to pretend it isn't just because I prefer the other paper. Planning ahead is a skill, and I am still working on it.
The pack I keep on the shelf for anything a customer will actually touch
A-SUB Sublimation Paper, 8.5 x 11 inch, 110 sheets, 125 g, coated finish. Feeds flat, releases clean, and behaves the same on the last sheet as it did on the first. Check today's price and the current sheet count on the listing before you order.
Amazon Check Today's Price on Amazon →The budget stack was curling at the corners before I pressed a single sheet. The A-SUB pack was flat on sheet one and still flat on sheet one hundred and ten.
What the Weight and Coating Actually Do
Paper weight is the number most beginners skip, and it is the one that decides whether your afternoon goes well. A sheet listed at 125 g has enough body to travel through the feed path without folding over on itself, and enough stiffness to lie flat against the shirt when the platen comes down. Thin paper curls, and a curled corner is a light patch on the finished piece. That is not a small annoyance when the piece is a shirt with a name on it for somebody's kid.
The size matters too, and it is easy to overlook. 8.5 x 11 is the standard sheet for a shirt front, and it lines up with the platen on most hobby presses. What goes wrong with a thin sheet is that it does not stay lined up. You set it down square, you close the handle, and the sheet shifts a quarter inch at the edge because it had a curl in it. On a full front print that shift shows up as a light band down one side. I have thrown away a shirt over a quarter inch. It is a stupid way to lose an afternoon, and it happens on thin paper far more often than it happens on me.
The coated finish is the other half of it. The listing calls out a high transfer rate, and what that means in the garage is that more of the ink leaves the sheet and lands on the blank instead of staying behind. When the coating is uneven, some of the ink holds on, and you get a faded result that tempts you to raise the temperature, which is the wrong fix. Coated paper that releases evenly lets you keep your time and temperature steady, and steady settings are how you get the same result twice.
Who Should Buy Which
Buy the A-SUB pack if you are taking orders. That is the plain version of it. The moment somebody is paying you for a shirt or a tote, the paper stops being the cheap part of the job and starts being the thing that decides whether you remake it. A 110 sheet pack of 8.5 x 11 gets you through a team order, a family reunion set, and a stack of totes for a small business, and it does it without you re-checking your settings every twenty minutes. If you are nervous about wasting money on your first press, this is where the money goes.
Buy the budget stack if you are still learning the machine. Specifically, if you have not yet figured out what medium pressure feels like, or you are about to press a blank you have never touched, or you want to run the same design at three different temperatures to see the difference. That is exactly what cheap paper is for and I would not talk you out of it. Just do not let it be the paper on the order you deliver, because the failure mode is quiet. It does not tear or jam. It just comes out a little dull and you find out after the wash.
If I were starting over today with my first press and one box of blanks, I would buy the A-SUB pack and a small budget pack together. Use the cheap sheets for the first two afternoons while you learn the handle and the peel, then switch. You will spend a little more at the start and save yourself a remake, which is the only kind of saving that actually counts in a garage business.
Start with paper that does not make you guess
110 sheets of 8.5 x 11, listed at 125 g with a coated finish that releases evenly. It is the pack I reach for when the order has somebody's name on it. Check today's price on Amazon and confirm the sheet count before you buy.
Amazon See Current Price and Sheet Count →