
You buy the press. You watch nine videos. You order a sleeve of blanks and a pack of paper, and then you stand in the garage holding one sheet, wondering why none of those videos mentioned that the paper is half the job. I did it backwards. For my first couple of months I pressed on whatever paper came in the starter bundle, and I spent that whole time assuming the faded, patchy results were my fault. My pressure. My timer. My technique.
Four years and a lot of ruined blanks later, the A-SUB Sublimation Paper is the pack that stays on my shelf. Eight and a half by eleven inches, 110 sheets, listed at 125 g. It is not the cheapest sheet you can buy and it is not the fanciest. It is the one that stopped costing me shirts, and in a converted one-car garage in Independence, Missouri, that is the only benchmark that counts for anything.
The Quick Verdict
Dense coated sheets that stay flat under a hot platen and release color evenly across the whole image. They curl out of the pack and they need dry storage, but this is the paper that cut my reprint pile down to almost nothing.
Amazon Check Today's Price →The pack that stopped me ruining blanks
110 sheets, 8.5 by 11, coated for sublimation ink only. This is the one I reorder, order after order.
Amazon Check Today's Price on Amazon →How I've Used It
I press mostly shirts, some totes, a good number of mugs, and the occasional phone case for a school fundraiser. My customers are local. My grandson's baseball league, a church group that orders forty shirts at a time, a couple of small businesses that want staff polos with a logo on the chest. Nothing glamorous. All of it has to look right the first time, because a reprint on a forty-shirt order eats an entire evening and Gary ends up folding alone while I re-press.
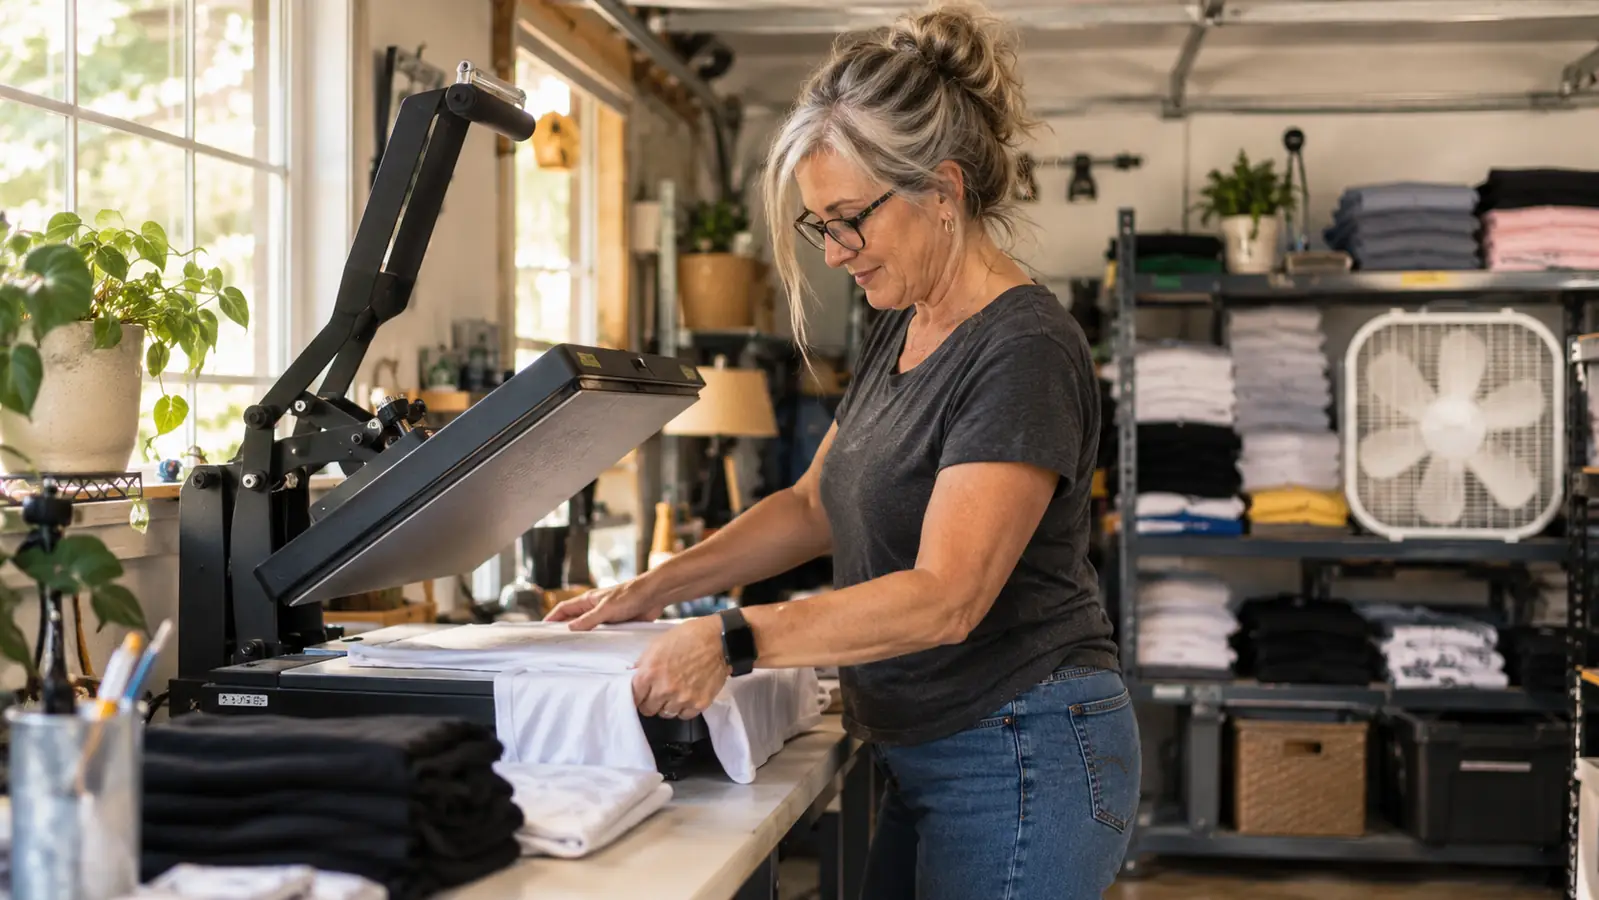
A typical order runs on one long folding table in the garage. Press on the left, blanks stacked on the shelf behind me, a box fan going in July because that garage gets hot enough to make the paper feel tacky. I print a sheet, trim it, line it up, press, peel, and move on. When the paper is right, the peel is the easy part. The sheet comes off warm with the ink locked into the fabric and the design sitting there bright and sharp.
The A-SUB pack has been in that rotation for a long stretch now. I have run it on white polyester performance shirts, on cotton blends with maybe 30 percent cotton, on ceramic mugs with a mug wrap, on tote bags and on a handful of coated phone cases. I have run it in January when the garage is cold and in August when the humidity makes everything feel like a dishrag. It behaved the same way through all of it, which is the highest compliment I can pay a consumable.
One thing I will say up front, because it saves somebody a bad afternoon. This paper only works with sublimation ink. That sounds obvious until you read the reviews from people who loaded it into a regular inkjet cartridge and got a wet sheet and a stained blank for their trouble. If your printer is not set up with sublimation ink, stop here and fix that first. No paper on the market rescues a printer that is set up wrong.
What You're Actually Getting in the Pack
The pack is 110 sheets at 8.5 by 11 inches, listed at 125 g with a paper weight of 120 and a coated finish. That weight matters more than it sounds. Thin transfer paper buckles the second it hits a hot platen. Buckling means the sheet lifts, and a lifted corner means a ghosted edge or a design that transfers half on and half off. Heavier coated stock stays flat under pressure, so the transfer comes out even across the whole image instead of strong in the middle and pale at the edges.
The 8.5 by 11 size covers an adult front print, a full back print on a youth or small adult shirt, and a standard mug wrap with room to tape the edges down. I trim with a paper cutter before pressing rather than after, because cutting a warm sheet straight off the press is how you end up with a jagged edge and ink on your fingers.
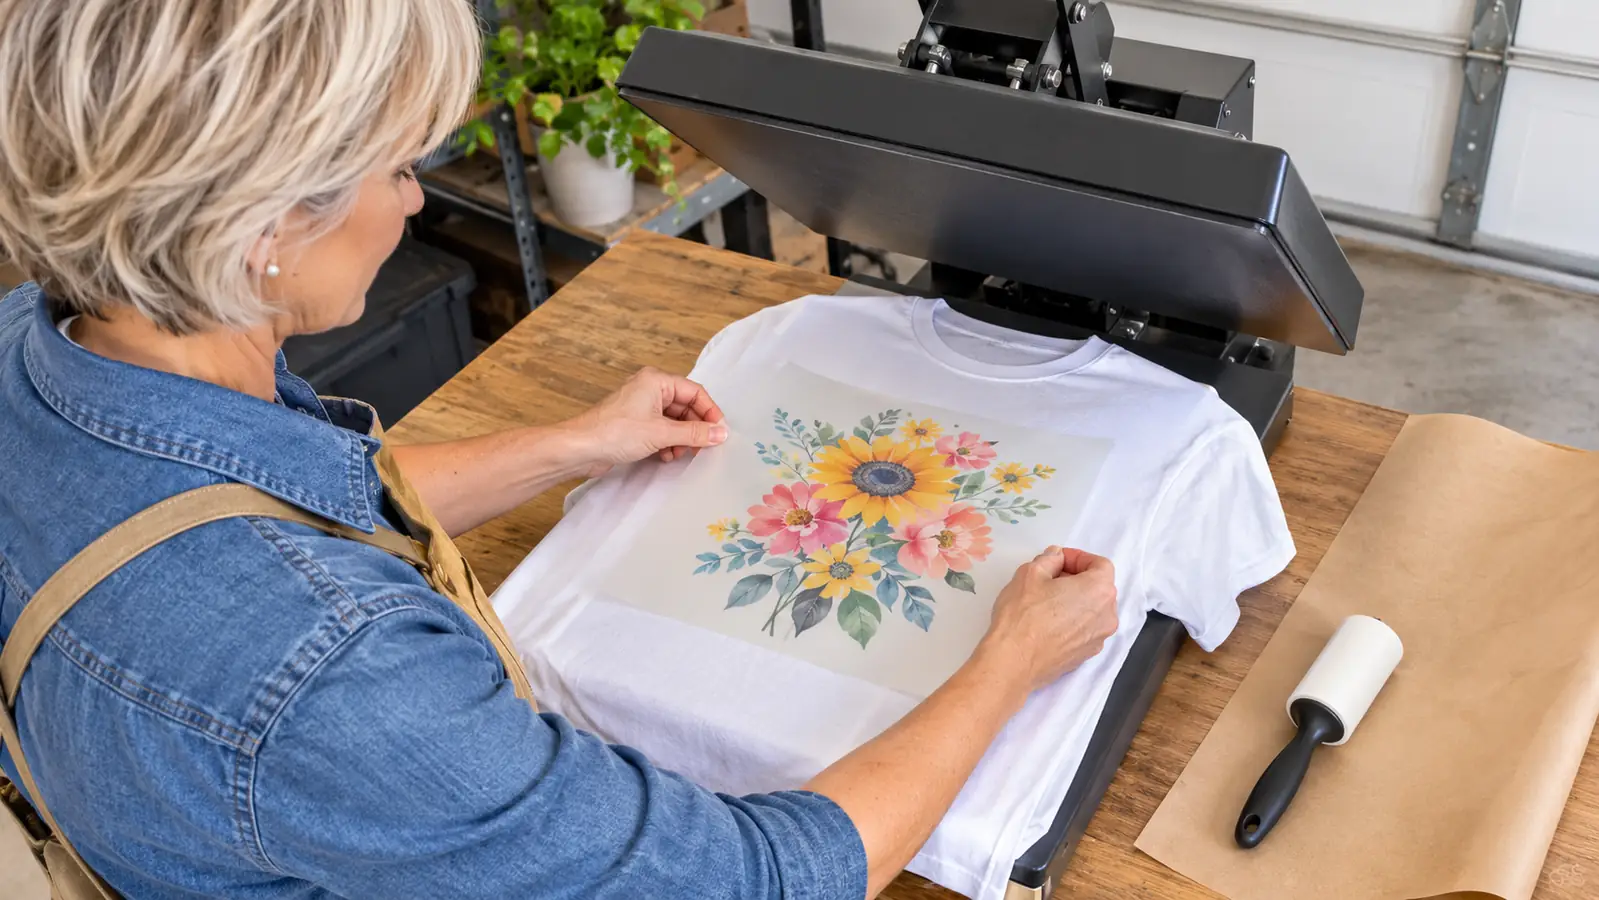
Coating is the part nobody explains to beginners. Sublimation paper is coated on one side so the ink sits on the surface instead of soaking into the fiber. That surface is what turns to gas under heat and drives into the polyester. Load the sheet the wrong way up and the ink sinks into the paper and you get a pale, washed print no matter how long you hold the press. I draw a pencil arrow on the wrapper of every new pack so I never have to think about it at nine at night.
On volume, 110 sheets is roughly 110 adult front prints, fewer once you start cutting sheets down for mugs and totes. For a team order of forty shirts with room for mistakes, one pack covers the job twice with spares left over. That is the math I actually run before I commit to a delivery date, not the price per sheet.
What Transfers Cleanly and What Fights You
The listing says white or light polyester, cotton content up to 30 percent, ceramic and tile, phone cases and metal. My experience lines up with that. On a 100 percent polyester performance shirt you get the brightest, most saturated result, because polyester is what the dye is built to bond with. On a 50/50 blend you get a softer, slightly vintage look that a lot of customers actually prefer. On 100 percent cotton you get almost nothing. The dye has no polyester to grab onto and it washes out to a faint ghost within a few cycles.
Ceramic mugs press beautifully as long as you have a mug wrap and you preheat the mug. Totes depend entirely on the fabric. A poly canvas tote takes color like a shirt. A cotton canvas tote will disappoint you and there is no paper anywhere that fixes it. I keep scrap blanks in each material I sell and I test a small design before I promise anything to a customer, especially on a fabric I have not pressed before.
Coated metal and phone cases are the ones I handle most carefully. Blanks made for sublimation do fine. Uncoated metal will not take the dye at all, it just looks smudged, and the customer thinks you did a bad job. If somebody brings me their own item, I ask what it is made of before I take the order, because the answer decides whether I can do the job.
Color density is where a coated sheet separates itself from the budget stock. On a dark navy polyester tee, the cheap sheets gave me a print that read almost dusty, like the design had a gray film over it. With this paper the same file, same printer, same press settings, comes out noticeably deeper. I did not change anything except the sheet. That was the week I stopped buying paper by the bundle price.
My Press Settings and How the Paper Fits In
For shirts I run 385 to 400 degrees Fahrenheit at medium to firm pressure for 60 seconds, with a piece of butcher paper over the top to protect the platen. Light pressure is the mistake people make early. You need enough pressure to keep the sheet in full contact for the entire dwell time, because any gap becomes a soft, cloudy patch in the middle of the print.
Mugs run around 400 degrees for three to four minutes in a mug press, depending on the wall thickness. Same paper, just trimmed and taped to wrap. Totes get 60 seconds at 385 with a pillow inside to flatten the panel so the print does not curl around the seam.
I bring settings into a paper review because paper and settings are not separate things. A coated sheet that stays flat lets you press at the bottom of your temperature range and still get a full transfer. A thin sheet that curls pushes you hotter and longer to compensate, and hotter and longer is how you get scorch marks and a stiff, shiny print on a performance shirt that used to feel soft in the hand.
That is where these sheets have paid for themselves in my garage. I press at the same numbers I use for everything else on the shelf and I get consistent results, order after order, without re-dialing anything. Consistency is worth more than a lower sheet price when you are running forty shirts against a Friday deadline and a customer is texting you for a progress update.
The Annoyances (There Are a Few)
The sheets curl. Straight out of the pack, especially in a dry January garage, they want to bow. I flatten a stack under a couple of heavy books the night before a big run, or I roll each sheet the opposite way before loading it. That adds maybe fifteen seconds per print. It also saves a whole lot of muttering under my breath.
Storage matters more than the listing lets on. Coated paper pulls moisture out of the air. In a humid Missouri summer, a pack left open on the shelf starts to feel limp, and limp paper gives you a soft, uneven transfer that looks like you under-pressed it. I keep mine in the original wrapper with the top folded over, inside a plastic bin, with a desiccant packet tossed in. That single habit did more for my print quality than any equipment I have bought since.
And this is a single-purpose consumable. It does not work with regular ink, it is not a sheet for printing flyers, and if you run it through a laser printer you will be shopping for a new printer. Store it like the one-job tool it is and it will behave.
Where It Sits Against Cheaper Paper
I have pressed on the budget sheets, the ones that come in big bundles for very little, and the difference shows up in two places. First, transfer density. The cheaper sheets give you a duller result, like the design has been run through a gray filter. Second, failure rate. More ghosting, more partial transfers, more curled corners that lift mid-press. When a failed print wastes a shirt, a mug or a tote, the savings on the sheet disappear on the second ruined item.
I have also tried the heavy premium sheets. They are fine. They are just more paper than I need for a cotton-blend youth shirt on a Tuesday night. The A-SUB sits in a useful middle: heavy enough to stay flat, sensible enough that I am not flinching every time I have to reprint a small order. If you want the longer version of that comparison, I go through it in more detail on the site, and there is a separate piece on why paper quality drives color more than most beginners expect.
The honest version is that paper is the cheapest variable you can fix. You cannot swap out a press mid-order and you cannot change the fabric a customer already bought. You can change the sheet, and the difference shows up on the very next print. That is why I stopped treating paper as an afterthought in my own budget.
What I Liked
- Coated sheet stays flat under the platen, so transfers come out even edge to edge
- 110 sheets per pack covers a full team order with spares for mistakes
- Works on polyester, blends up to 30 percent cotton, ceramic, tile, phone cases and coated metal
- Consistent pack to pack, so I do not have to re-dial my press settings between orders
- Bright, saturated color on 100 percent polyester without pushing the temperature higher
Where It Falls Short
- Sheets curl out of the pack and need flattening before a big run
- The coating takes on humidity, so a pack stored badly will print soft
- Sublimation ink only, so it is useless to anyone with a standard inkjet setup
- No pre-cut or perforated sizes, you trim every sheet yourself
On a forty-shirt order I used to budget four extra blanks for failures. With this paper I budget one, and most times I do not touch it.
Who This Is For
This is for the person who just set up a press in a spare room or a garage and is about to learn the hard way that the paper matters. You are pressing shirts for a local team, a church group, a family reunion, maybe a small business that wants staff shirts with a logo. You want a pack that behaves the same way every time so the only variable left to chase is your own technique.
It also suits anyone who has been fighting faded transfers and assuming the press is at fault. Most of the time it is not. It is thin paper, or a sheet loaded face down, or damp stock, or pressure that is too light. A decent coated sheet takes three of those four suspects off the table on day one, which is worth more than another gadget.
Who Should Skip It
If your printer is loaded with regular inkjet ink and you are not ready to switch over to a sublimation setup, skip this entirely. It will not work and you will decide the product is defective when the problem is the ink. If you only press 100 percent cotton, skip it too. The dye needs polyester to bond with and no amount of technique or temperature changes that.
And if you are pressing a handful of items a year for family gifts, a smaller pack may suit you better than 110 sheets sitting in a bin slowly taking on moisture. Buy for the volume you actually press, not the volume you hope to press once the Facebook group finds you.
One less variable to chase
If you are tired of guessing whether the faded print is your press, your pressure or your paper, start with a sheet you can trust and work backwards from there.
Amazon Check Today's Price on Amazon →