
Ghosting is the reason a lot of people quit sublimation inside the first month. You lift the press, peel the paper back, and the image is on the shirt twice. One clean copy and one soft shadow sitting a quarter inch to the side. The other version is quieter and worse. The print looks fine on day one, then it goes pale and chalky after two washes, and you have no idea whether to blame the blank, the ink, or yourself.
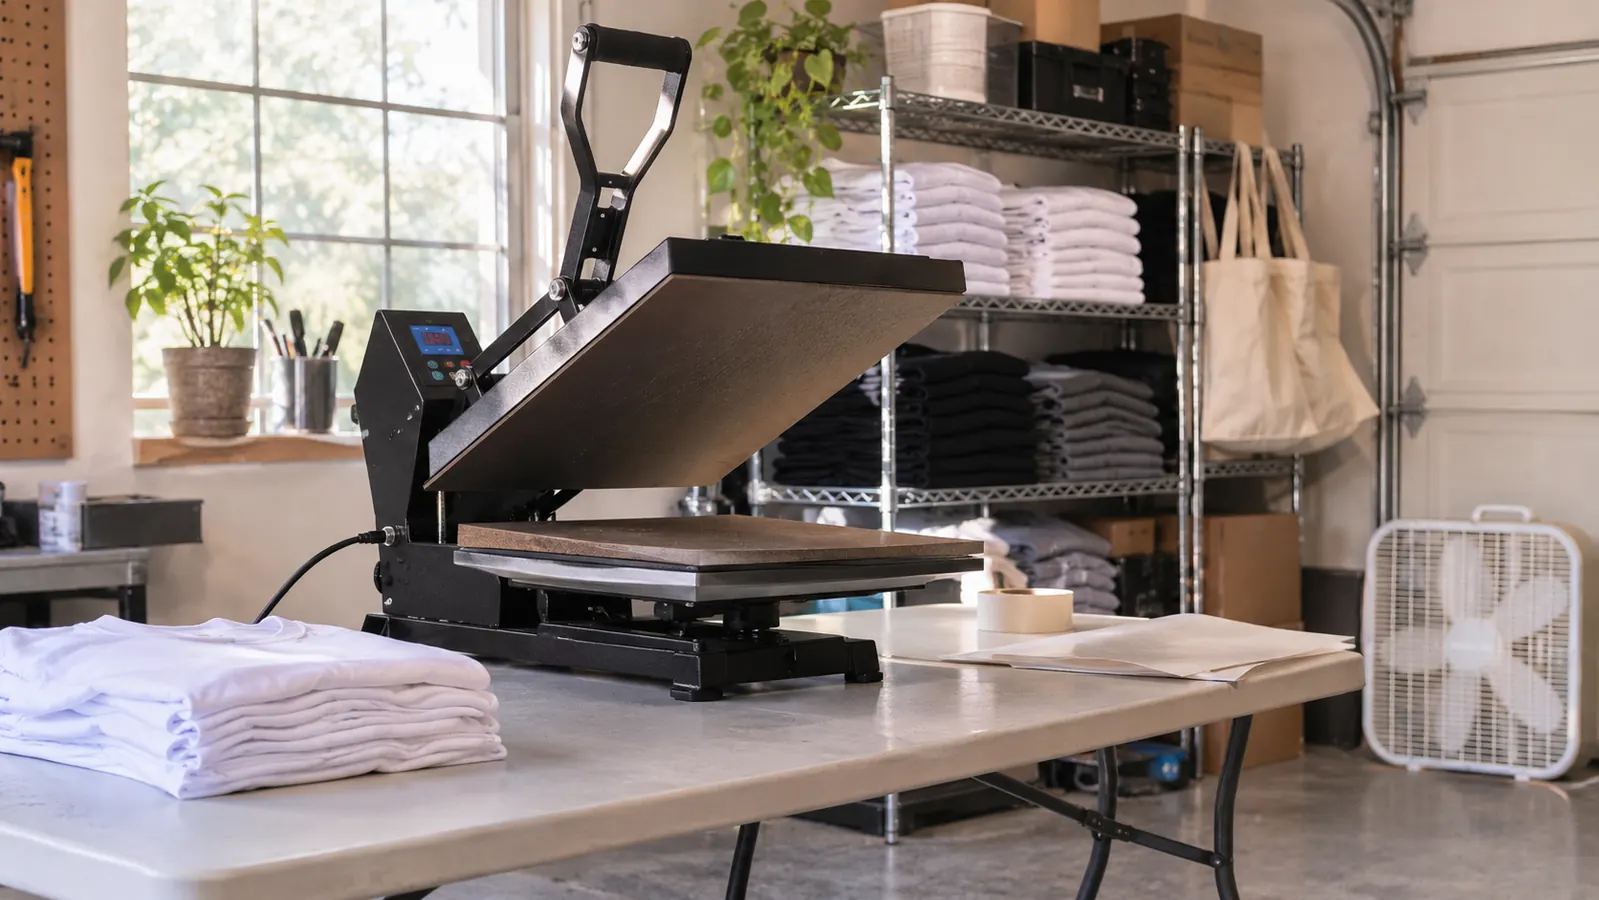
Both problems usually come back to the paper and how it behaves under heat. I run a small custom shirt, tote and mug business out of the converted garage of my house in Independence, Missouri, and I have pressed through enough bad sheets to know the difference. Most of my work now goes through A-SUB Sublimation Paper, an 8.5 by 11 inch sheet, 110 sheets to the pack, coated for a high transfer rate, and it only works with sublimation ink. Here is the routine that keeps the shadows and the pale prints off my orders.
The simplest fix for ghosting is the sheet you load in the first place
A coated sheet that releases ink evenly removes half the variables before you ever touch a press setting. 110 sheets to the pack, built for sublimation ink only.
Amazon Check Today's Price on Amazon →Step 1: Dry the paper and the blank before anything else
Sublimation ink turns to gas at press temperature and has to pass into the surface of the blank to work. Water vapor does not care about any of that. If the paper has been sitting open in a humid room, or the shirt has been sealed in a plastic bag on a shelf for a month, that moisture flashes off as steam during the press. The steam sits between the sheet and the blank and blocks ink from getting through. What you get is a faded, cloudy print, and when the steam escapes unevenly you get a shadow along with it.
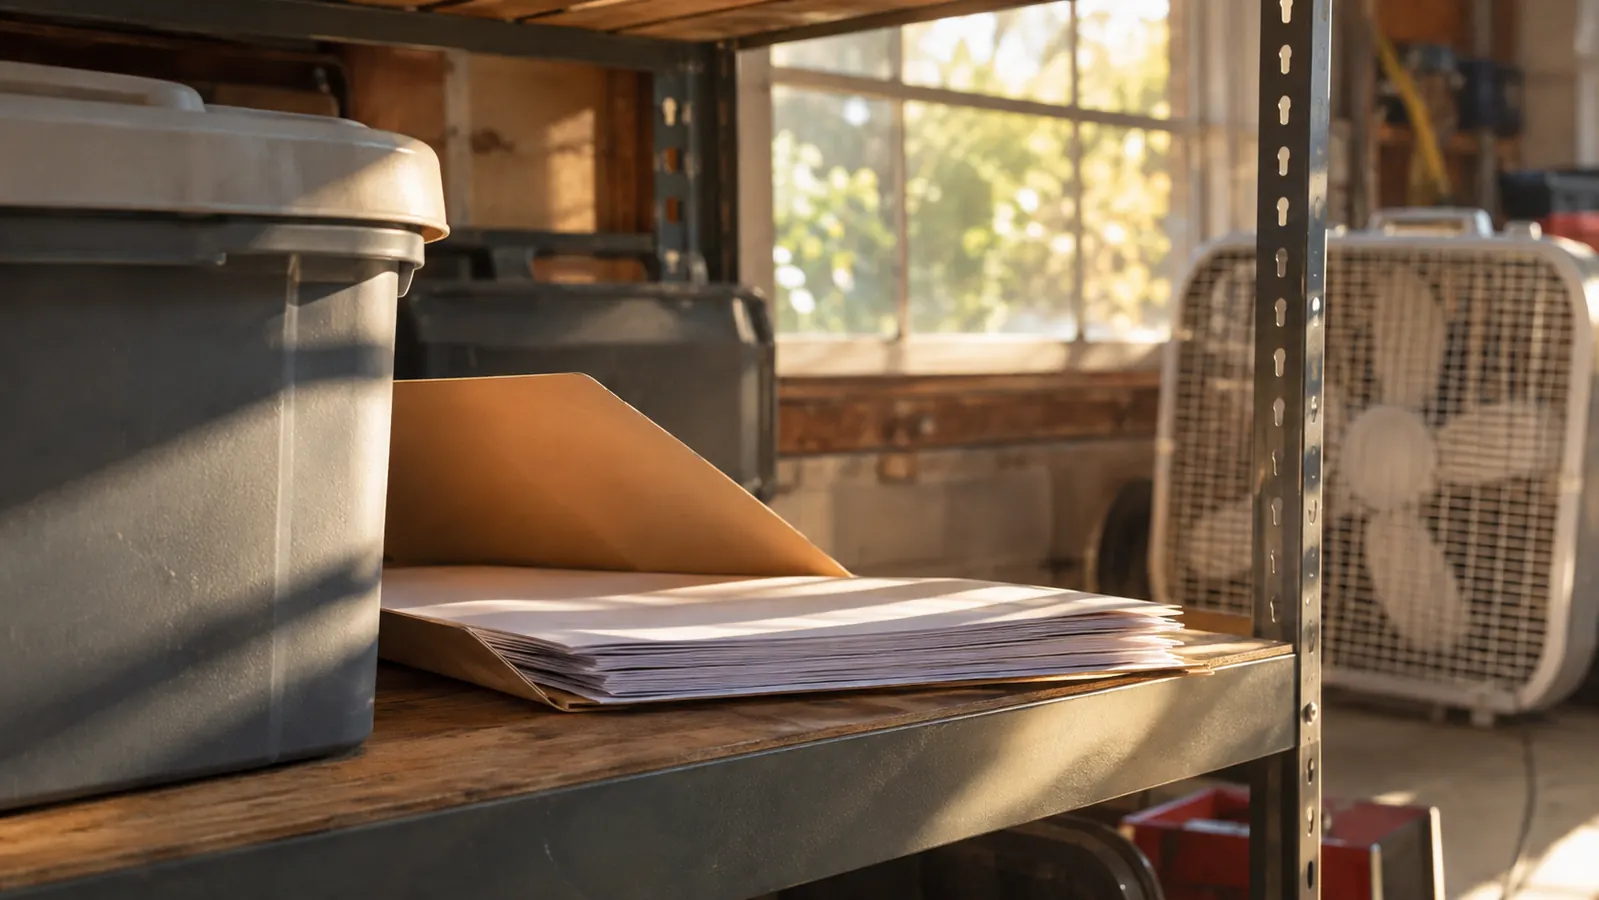
My garage gets muggy in July, and the box fan I run for comfort does nothing for the paper. So the sheets stay in their packaging, and the pack goes into a plastic storage tub with a lid. A 110 sheet A-SUB pack lasts me through several team orders, which means it can sit on the shelf for weeks, and that is exactly why the lid matters. If a batch has been out on the table for a few days, I give each sheet a quick pass with a hair dryer on low before printing, just to be sure.
The blank gets the same treatment. Every shirt or tote gets five seconds under the press with a piece of butcher paper over it before the printed sheet goes anywhere near it. That one step steams out the moisture the fabric picked up in storage and flattens the weave at the same time. It has saved more blanks for me than any change I have ever made to my press settings.
Step 2: Load the coated side against the blank, and keep the sheet flat
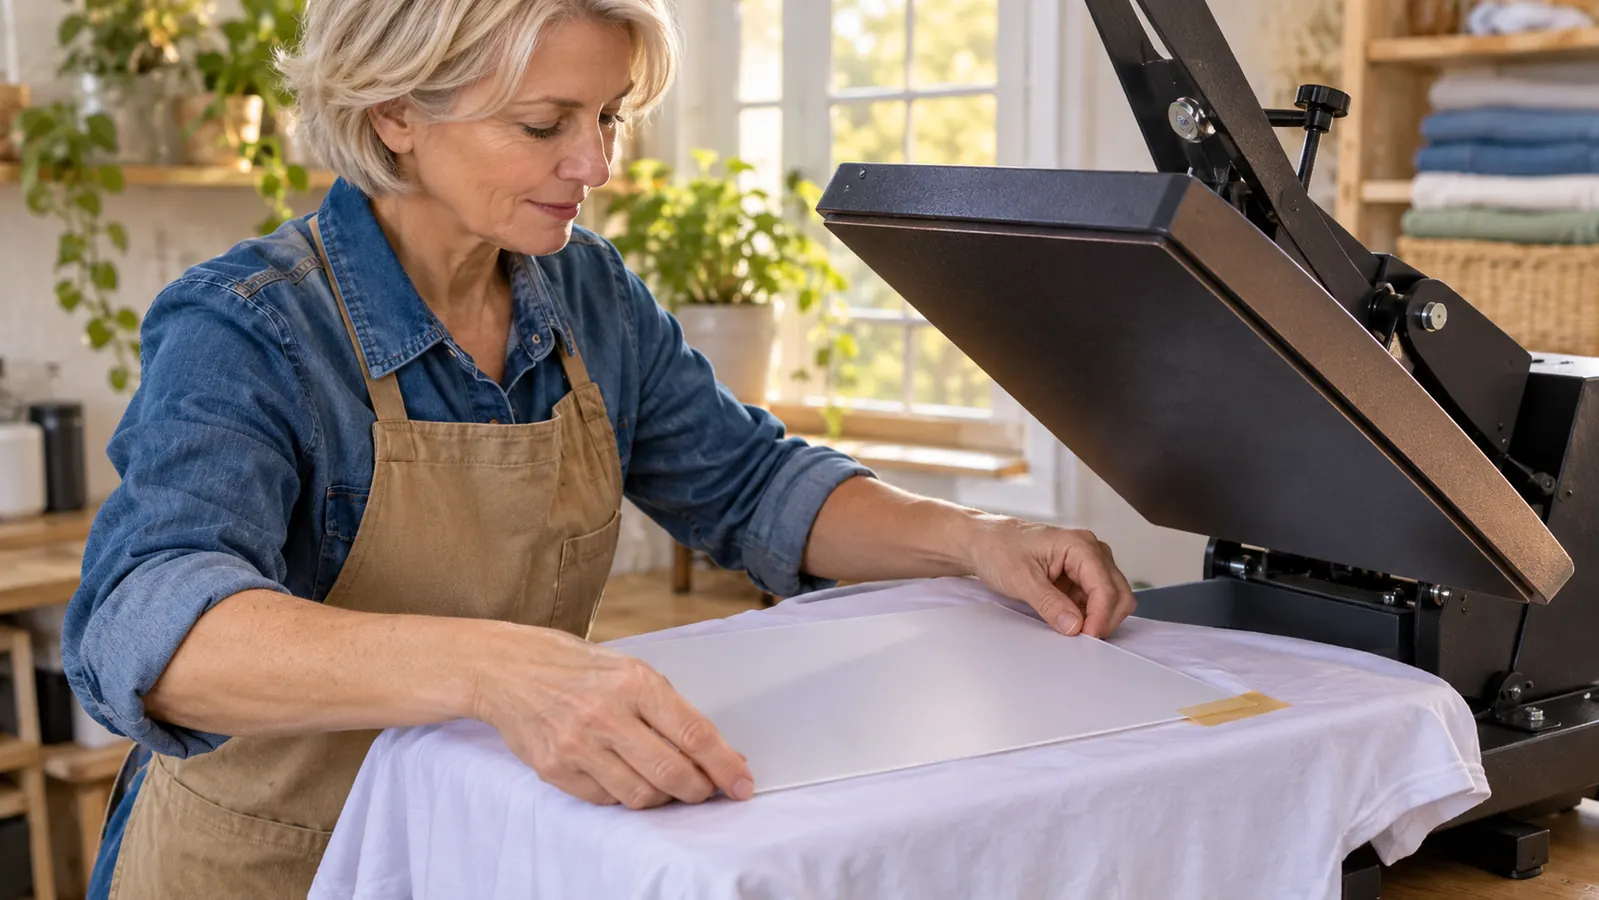
Sublimation paper is coated on one side only. Print on the wrong side and the ink sits on the surface instead of in it, transfers weakly, and comes out pale with a mottled texture that never fully cures. It looks exactly like a fading problem. It is really a loading problem, and it is the one I see most often when someone brings me a shirt they pressed at home.
If you lose track of which side is which, touch a corner with a slightly damp fingertip. The coated side has a faint tack to it and feels different from the back. Handle the sheet by the edges only, because oil from your fingers sits on the coating and blocks transfer in the exact shape of a fingerprint. Finding one of those in the middle of a finished tote is a maddening thing.
Flatness matters as much as which side faces up. A sheet that has curled at the corner lifts away from the blank under the press, and that corner comes out light or shadowed. Mine live in the tub, never stacked loose on the folding table, and if a corner is stubborn I press it flat for a minute under a heavy book before printing. Print quality counts too. A print that already looks banded or thin will look faded on the blank no matter how good the press settings are, so check the sheet before you commit a blank to it.
Step 3: Tape the sheet down so it cannot move
Ghosting is a double image, and a double image means movement. The paper shifted a fraction of an inch between the moment the ink started to gas off and the moment the press closed. A strip of heat resistant tape along two opposite edges, or all four if the blank is small, stops that cold. Tape is cheap and it is the single most reliable defense I know.
Pressure plays into it as well. Too much pressure pushes the paper sideways as the platen comes down and leaves hard plate marks around the image. Too little pressure means the sheet never makes firm contact, which gives you a faded print that looks like it was pressed through a bedsheet. I aim for the press to close firmly with a light push and hold there. If I have to lean on the handle, the pressure is too high.
One more cause of movement that gets overlooked: a folded shirt. If the fabric is bunched under the paper, it relaxes as it heats and drags the sheet with it. Smooth the blank out on the platen until there is not a wrinkle anywhere under where the image will land. Check the seams too, because a heavy side seam under the print area creates a ridge the paper bridges, and bridged paper means a faded stripe.
Every ghosted shirt I have pulled off the platen came from one of three things: a sheet that moved, a blank that was damp, or a corner that had curled up off the fabric.
Step 4: Only print on surfaces that sublimation can actually bond to
This is where most faded prints come from, and it has nothing to do with the paper. Sublimation ink bonds to polyester fiber and to a poly coating. It does not bond to cotton. The A-SUB listing is specific about it: white or light colored polyester, cotton content of 30 percent or less, premium ceramic and tile, and phone cases and metal made for sublimation. Press a full color image onto a hundred percent cotton tee and it will look decent for a day, then wash out to a pale ghost of itself.
That is also why the same sheet can give a brilliant result on one blank and a weak one on the next. The variable is the blank. When a customer brings me their own shirt from a big box store, the first thing I do is read the tag and check the fiber content. If it is mostly cotton, I turn the job down or I quote them a polyester shirt instead. Saying no to one order has saved me more complaints than any other habit.
Ceramic and mugs follow the same rule in a different shape. The mug has to have a sublimation coating. A plain uncoated mug takes a faint image that scratches off with a thumbnail. A coated blank takes the ink into the coating and it stays through the dishwasher. On flat work, the right coated sheet and the right blank together are what produce the deep, saturated result people expect when they order a custom shirt.
Step 5: Peel at the right moment and store the rest flat
Peeling hot, in one smooth motion, away from the edge of the image, is what I do for shirts, totes and most apparel. Letting a pressed piece sit and cool with the paper still stuck to it gives the ink a chance to settle back into the sheet, which shows up as a dull or patchy finish. Some blanks need a cold peel, and the blank supplier will tell you which. What matters is doing the same thing every single time so you can tell whether a change actually helped or whether you just got lucky.
Prints that are not used right away go flat into a folder between sheets of card, in the tub with the rest of the paper. A crease in a printed sheet shows up in the final press as a light line, and a scuff from sliding a print across the table shows up as a bright spot. I have thrown out more prints to handling damage than to bad settings, which is an embarrassing thing to admit after four years.
And do not reuse a sheet. The coating gives up most of its ink in the first press, and a second pass gives a weak, uneven transfer that is far more trouble than a fresh sheet is worth. One press per sheet, then it goes in the bin.
What Else Helps
Lint is a quiet killer on dark garments. A quick roll with a lint roller over the print area before the paper goes down removes the fibers that would otherwise sit under the image and block transfer in tiny pinprick dots. It takes ten seconds and it is the difference between a clean print and one that looks like it has freckles.
Butcher paper over the top of the printed sheet catches any ink that blows through, and that keeps the upper platen of the press clean. A dirty platen drops ink onto the next blank, and that stain is permanent. I keep a stack of butcher paper cut to size next to the press for exactly this, and I also use it as the protective layer when I pre-press a blank dry.
A 110 sheet pack goes further than it sounds. Most of my shirt fronts take one letter size sheet, and a tote takes one with room to spare, so a single A-SUB pack covers a full team order with a few sheets left over for test presses. That leftover stack is the part I like, because it means I can burn a sheet dialing in a new blank instead of burning a blank dialing in a new blank.
Keep a notebook. Every blank type I press gets a line: temperature, time, pressure, and whether I peeled hot or cold. When a job comes out faded, the notebook tells me what changed. Without it I am guessing, and guessing wastes blanks and time I do not get back.
Tell your customers how to wash the finished piece. Cold water, inside out, no fabric softener, no dryer sheet, hang or tumble low. Most of the fading complaints I have heard in four years trace back to a hot wash and a hot dryer rather than to the press, and a small care card in the bag heads that off before it starts.
None of this is complicated. Damp paper is the enemy. A sheet that slides is the enemy. A cotton blank is the enemy. Handle those three and the paper does the rest, and the print that comes off your press on wash five will look the way it did on day one.
One pack, one press, and a routine you can repeat
Coated 8.5 by 11 inch sheets, 110 to the pack, made for sublimation ink only. Start with paper that behaves and stop burning blanks on the variables you can control.
Amazon Check Today's Price on Amazon →