The first iron-on shirt I cut was for my grandson's baseball team, and I ruined two blanks before I got one worth handing over. The vinyl was fine. The press was fine. I simply had no idea what order to do things in, so I cut too deep, weeded too fast, and pressed at a temperature I half remembered from a video.
If you are standing in your garage right now with a new machine, a stack of blank shirts and a nagging feeling that you are about to waste them, this is the sequence I use. The Cricut Joy Xtra is a small cutting machine and it is genuinely easy to learn on, but it only does one part of the job. The cutting belongs to the machine. The pressing belongs to you, a heat press and a timer.
What the Cricut Joy Xtra Does, and What It Leaves to You
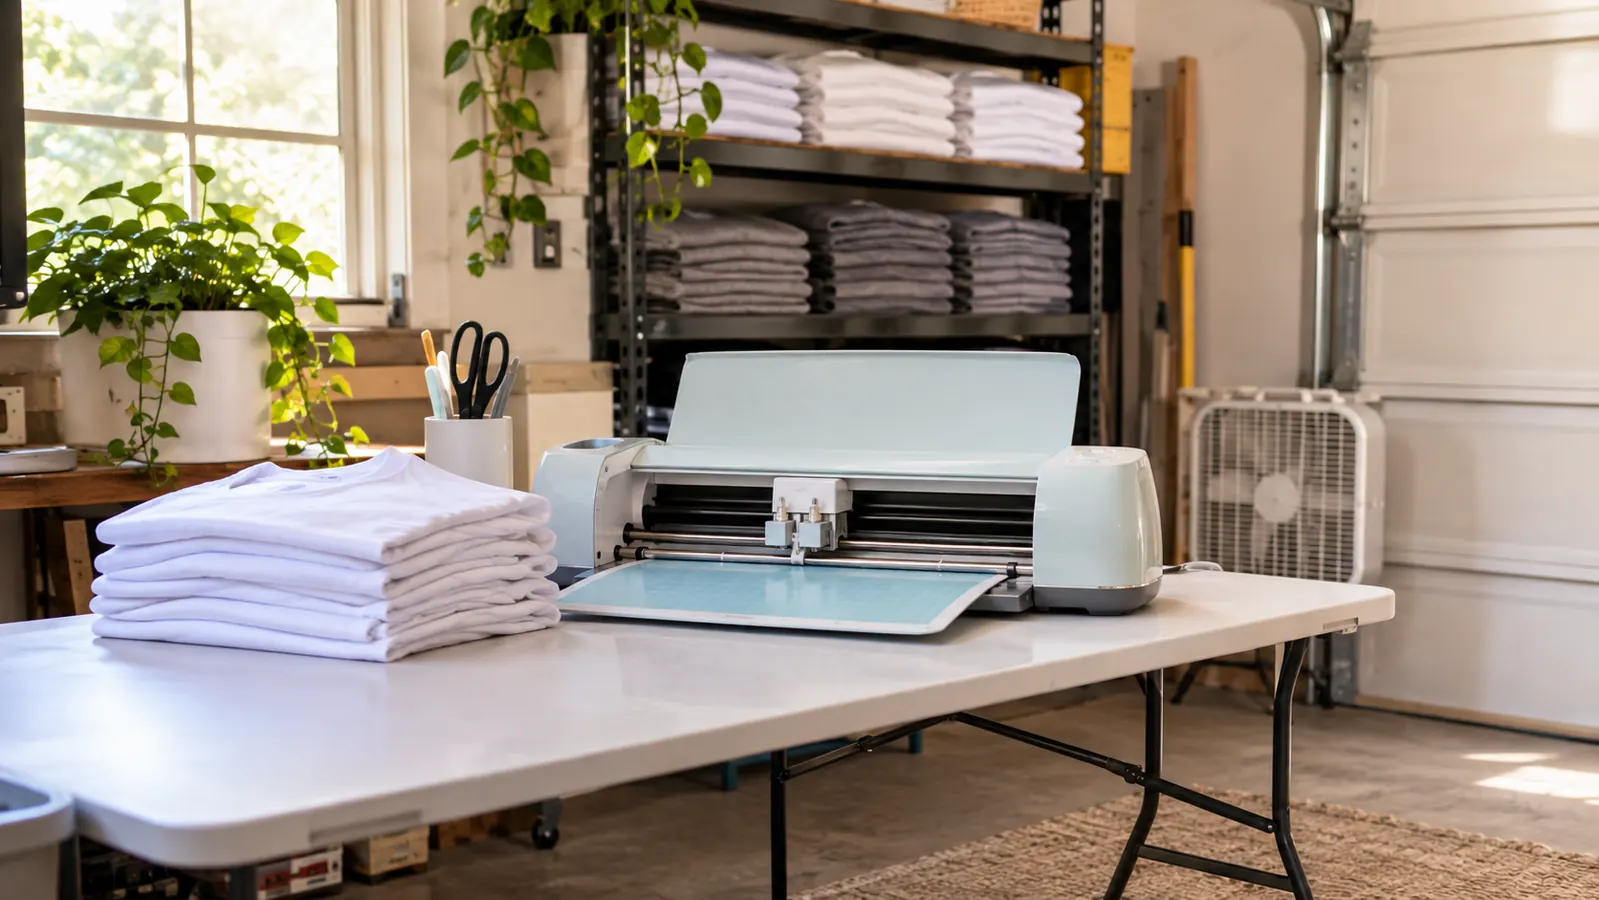
The Joy Xtra cuts shapes out of flat materials, and that is the whole job. It works with more than 50 materials, including vinyl, iron-on HTV, cardstock and sticker paper. The box includes the machine, a fine-point blade, a fine-point pen, a mini weeder, a welcome card, a USB cable, a power adapter and 30 digital images you can use right away. A cutting mat is not in the box, so pick one up before your first cut or you will be looking at a machine you cannot feed.
It works with a computer, tablet or smartphone, and if you already have an inkjet printer it can do Print-Then-Cut for full-color printed designs and sticker sheets. The active cutting area is 95.94 square inches. In practice that covers front-left-chest designs, sleeve prints, names, numbers and kids' sizes comfortably, while a full adult back print is more than the machine handles in one pass. For those I split the artwork into two pieces or send the job out.
What the Joy Xtra does not do is apply heat. Nothing about it presses. If you are taking shirt orders, the press is the second purchase and it is the one that decides whether your vinyl survives twenty washes. The machine carries a one-year manufacturer warranty and sits at 4.4 stars across roughly 800 reviews, which matches what I see: people like the cuts, and most complaints are about the size, not the quality.
The part that takes practice is the cutting. Let the machine handle it.
The Cricut Joy Xtra cuts iron-on material cleanly with a fine-point blade, and it lives on a shelf between orders. Blanks, a press and a timer handle the rest.
Amazon Check Today's Price on Amazon →Step 1: Pick a blank you can afford to ruin
Buy two or three cheap shirts before you buy the good one. Almost everyone burns a blank in the first week, and it stings less when the shirt came from a clearance rack than when it was the ring-spun jersey you were saving for a customer. Cotton is the friendliest surface for heat transfer vinyl. Cotton and poly blends work too, but the higher the polyester content, the lower and shorter the press has to be.
Pre-press every blank for three to five seconds before the design goes anywhere near it. That single step pulls the moisture and wrinkles out of the fabric, and moisture is the usual reason a design lifts at one corner after a few washes. It takes less time than pressing the whole shirt twice.
Then size the artwork to the shirt. For an adult front left chest I keep the design between three and four inches wide. A full adult front runs ten to twelve inches wide and about twelve tall. Youth sizes sit around seven to eight inches wide. Find the center with a fold crease or a strip of tape before the vinyl touches fabric, because iron-on does not slide once it makes contact.
I made the sizing mistake on a set of twelve youth shirts for a church group. I sized the artwork off an adult front by eye, cut all twelve, and only noticed the problem when the smallest size crowded the collar and the design ran into the shoulder seam. Twelve blanks, one afternoon, and nothing I could fix by pressing harder. Now I write the shirt size on a sticky note, tape it to the table, and hold the cut design against the actual garment before the blade ever touches vinyl.
Step 2: Mirror the design and cut with the fine-point blade
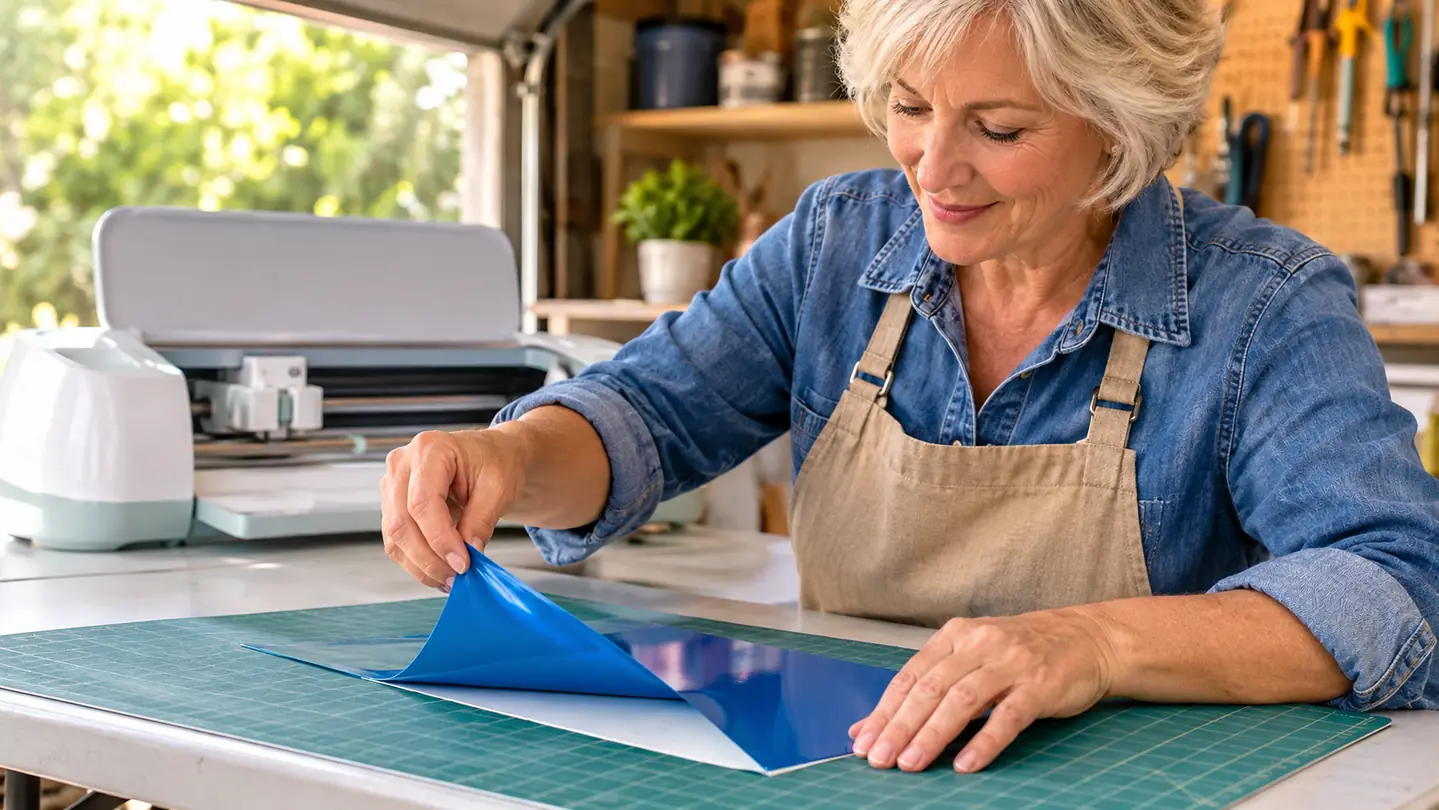
Iron-on material is cut face down, so mirror the design in the software before you send it. Skip that and the text comes out backwards. I have done it exactly once, on a shirt for a church group, and I still think about it.
Place the iron-on sheet on the mat with the shiny carrier side down, load the fine-point blade, and choose the iron-on setting in the software. Run a test cut on a scrap corner first. You want a kiss cut: the blade goes through the vinyl and stops at the backing paper. If it scores the backing, the blade or the setting is too deep. If the vinyl tears when you lift it, the cut is too shallow.
The first cut on a new mat is worth slowing down for. My mat was sticky enough that the iron-on sheet grabbed it and wrinkled at one corner, which threw off the cut across the whole design. Smooth the sheet down from the center out with the flat of your hand, not with a squeegee, and check the edges before you close the machine. If a corner lifts, pull the whole sheet up and start again. Cutting a wrinkled sheet wastes vinyl, and it wastes the ten minutes you spend weeding something that was never going to line up.
The Joy Xtra is compact enough that I cut one design at a time instead of laying out a whole team sheet. That sounds slower than it is. A clean cut weeds in a fraction of the time, and feeding a fresh mat takes a few seconds.
Step 3: Weed slowly, and in the right order
Weeding is pulling away the vinyl you do not want and leaving the design on its carrier sheet. The mini weeder in the box is the tool for the tight spots: the middle of an A, the counter of a B, the inside of an O. Start at a corner with the waste material and peel it back at a low angle, almost flat, so the letters stay down on the carrier.
Use the hook end for the small islands. Keep a scrap of backing paper on the table and stick the bits to it as you go, or you will be finding them on the garage floor for a week. If the vinyl is cold and fighting you, warm it for a second with your hand or a hair dryer on low. Do not heat it enough to stretch.
Do this under a good light. Most of the weeding mistakes I have made happened in a dim garage late at night, and every one of them showed up later as a missing dot inside a letter.
Fifteen seconds at 305 degrees with medium pressure handles most standard heat transfer vinyl. The shirts that fail are almost always the ones pressed at 250 for eight seconds because someone was in a hurry.
Step 4: Press at the right temperature instead of guessing
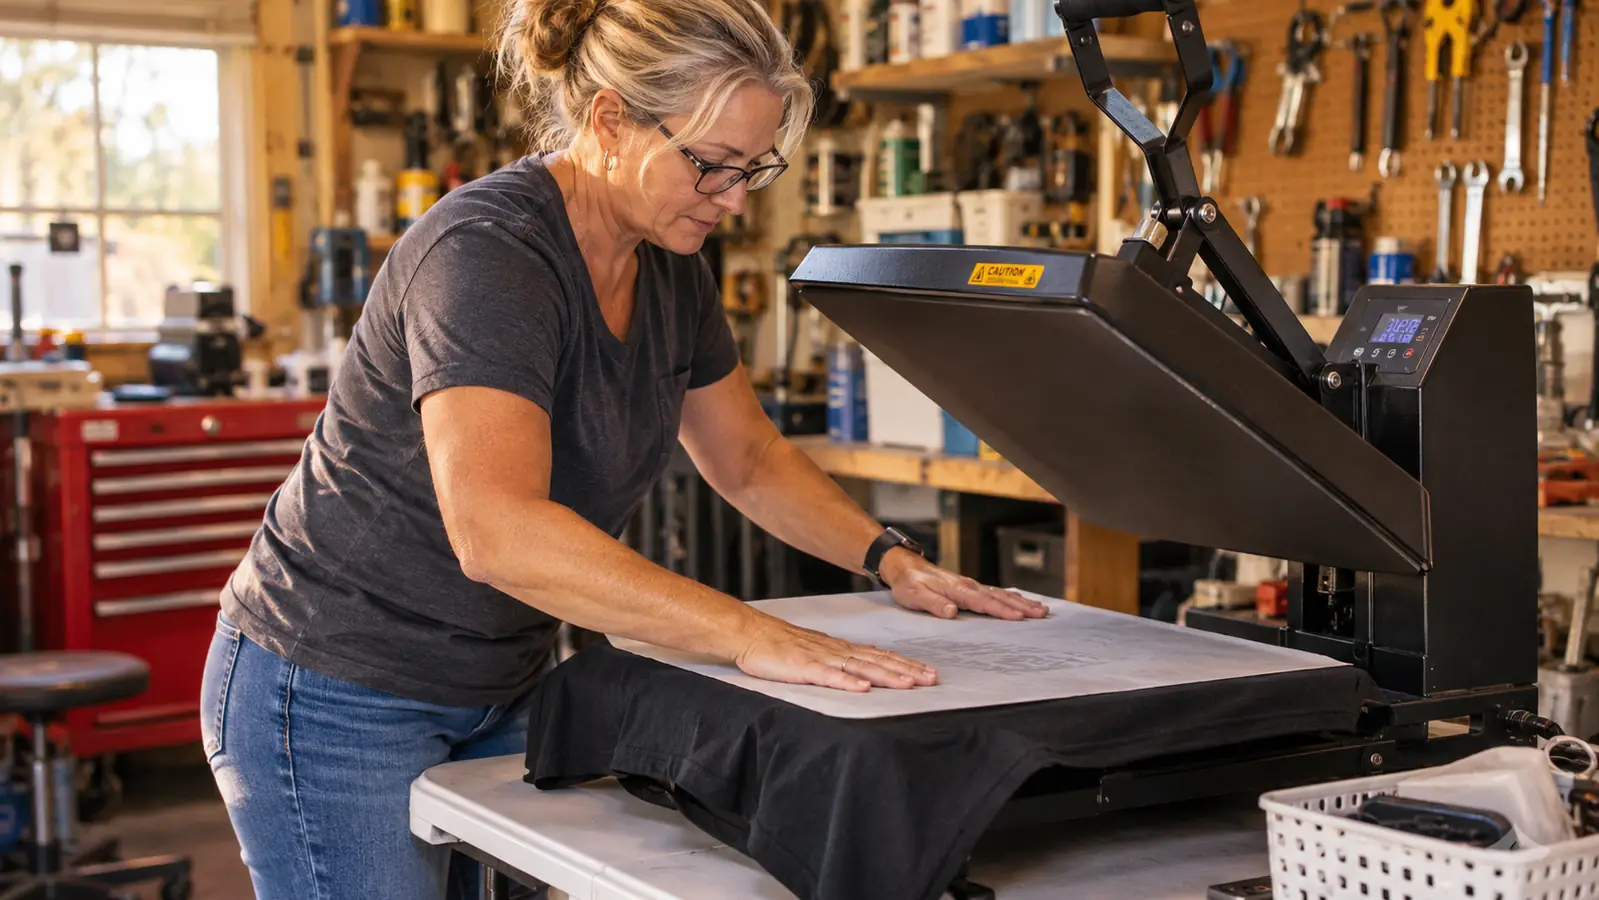
Most standard heat transfer vinyl wants 305 degrees Fahrenheit for 15 seconds at medium pressure. Follow the chart that came with your vinyl rather than a video, because carriers differ from brand to brand. Poly blends usually want less heat, often in the 280 to 290 range with a shorter dwell, and a high polyester content will scorch or take a heat mark if you push it.
I scorched a practice jersey for a small business order this way. The shirt was a high-poly blend, I ran it at my usual cotton numbers, and the fabric took a dull shine across the chest that no amount of washing took out. I remade that shirt out of pocket, and now I press a scrap of any new blank for five seconds before committing a customer's order to it. A scrap costs nothing. A scorched jersey costs a shirt, a trip back and a little goodwill.
Pre-press the shirt, set the design, cover it with a Teflon sheet or a sheet of parchment, and press. If the shirt has buttons, a zipper, a collar seam or a pocket, put a pressing pillow or a folded towel underneath so the area under the design is flat. Most lifting I have seen on a freshly pressed shirt was a contact problem, not a temperature problem. The press was simply not touching that part of the design.
Peel according to the vinyl's own instructions. Some peel hot, some peel cold, and peeling at the wrong moment can pull a thin line straight off the carrier. If the instructions call for it, flip the shirt and press the back for another five to ten seconds to set the bond through the fabric.
Step 5: Check the bond before the shirt leaves the table
Run a fingernail along the edges of the design while the shirt is still warm. If anything lifts, cover it and press again for three to five seconds. Then hang the shirt and step back to arm's length, because a design that looks centered flat on a platen can look crooked once it is on a hanger.
Send care instructions with every order: wash inside out, cold water, no fabric softener, and either hang dry or a low dryer cycle. Most of the peeled shirts I hear about came out of a hot dryer, not off a bad press.
Fold it, bag it and write the order on the bag. Gary and I do the folding on the same long table on busy weekends, and labeling the bag is the step that keeps a repeat customer from wondering which shirt belongs to which kid.
What Else Helps
Keep a test shirt next to the press permanently, and keep a Teflon sheet, a roll of heat-resistant tape and a pressing pillow within reach. The tape holds a design in place while you move the shirt to the platen, and the pillow is what makes a button placket or a zipper behave. None of these are complicated purchases, and each one saves blanks.
The garage itself matters more than people expect. In an Independence summer the humidity gets high enough that blanks pull moisture just sitting on the shelf, and moisture is what makes a design lift at the corners weeks later. I run the box fan in summer, keep the blanks up on a shelf instead of the floor, and pre-press anything that has been sitting out overnight. It is not a scientific setup. It is a dry shirt and a flat surface, which is most of the battle.
The 30 digital images in the bundle will carry you through your first several orders, and the software runs on a computer, tablet or phone, which is handy when a customer sends a logo while you are standing in the garage. If you have an inkjet printer, Print-Then-Cut opens up full-color prints and sticker sheets from the same machine.
The habit that helps more than any tool is writing your settings down. Vinyl brand, temperature, time, pressure, peel type, and whether the blank was cotton or a blend. After a couple of months you will have your own chart for the four or five materials you actually use, and you will stop re-testing every order from scratch.
Batch when you can. Cut all the front-chest designs for a team in one sitting, weed them while something else is going on, then press them in one run while the press is already hot. Heating a press for one shirt at a time is the slowest way to work through an order.
One clean cut is worth an hour of redoing a shirt
The Cricut Joy Xtra handles iron-on material with a fine-point blade and takes up less space than a sheet of paper when it is stored. The pressing is the part you learn by doing.
Amazon Check Today's Price on Amazon →