The box arrives, you get the thing up on the folding table, and then you stand there with your hands in your pockets because you do not want to burn a good shirt on the first try. I know that feeling. Four years ago I pressed my first shirt on a machine like the Fancierstudio 15x15 and I ruined three blanks before I worked out that heat was not my problem. Pressure and timing were. So this is the order I do it in now, and the order I would hand to anybody starting out.
None of it is difficult. It is fussy. A heat press is a hot plate with a timer, and every failure traces back to four things: temperature, time, pressure, and how the shirt is sitting on the lower pad. Get those four close and a beginner pulls a clean shirt on the first attempt. Get them wrong and you will decide the machine is defective when it is doing exactly what you asked it to do.
The press most first-timers start on, and the one I would buy again
Fancierstudio 15x15, 1800 watts, electronic time and heat control, a Teflon-coated platen and a 15-by-15 pressing sheet in the box. A plain machine that does the one job a beginner needs it to do.
Amazon Check Today's Price on Amazon →Step 1: Give the press its own circuit and a surface that can take the heat
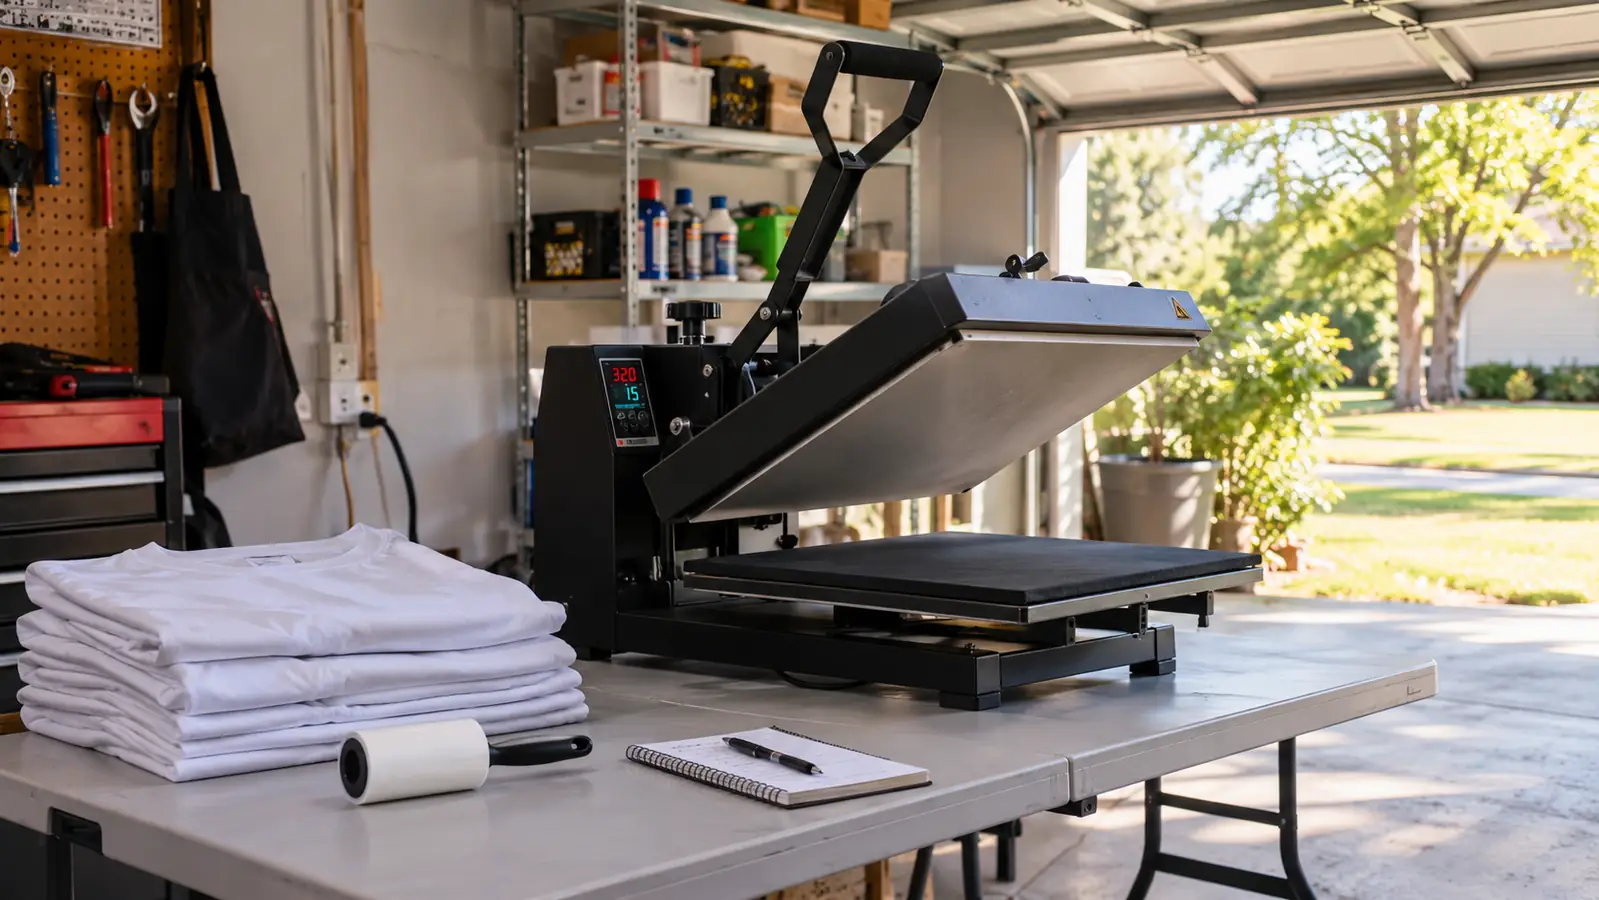
Fancierstudio rates this press at 1800 watts on 110 volts, and that number matters before you press a single shirt. Eighteen hundred watts is close to the limit of a standard household circuit, so put the press on an outlet that is not already feeding a space heater, a chest freezer or the window air conditioner in the next room. Mine lives on its own circuit in the garage and I still do not run the fan and the iron on the same one. A breaker tripping mid-press is a scorched shirt and a bad mood.
The machine measures 33 inches long, 23 inches wide and 20 inches tall, so measure the table before you clear a spot for it. I use a six foot folding table: press on one end, blanks on the other, nothing else on it while I am working. Keep paper, poly mailers and the bag of shirt bags off that surface. The lower pad stays hot for a good while after you finish, and the first time you lean a stack of blanks against it you will find out exactly how long.
Give it about ten minutes to come up to temperature on the first heat of the day. A new press will often put off a faint smell the first few times it heats, which is the oils from manufacturing burning off. Let it do that with nothing on the pad. Do not press the shirt you care about during warm-up, and do not assume the readout is honest just because it stopped blinking. More on that in the next step.
Step 2: Set temperature and time for the blank you are actually holding
The electronic control sets temperature anywhere from 0 to 699 degrees F and time from 0 to 999 seconds. That range is generous, and generous is exactly what gets beginners into trouble. The machine has no idea what you put on the pad. It will hold 400 degrees for two minutes on a cotton tee and hand you back a brown rectangle with a shirt underneath it.
Start with the material in front of you, not with a number you saw in a video. For a cotton or cotton blend tee with a screen print transfer, 350 to 375 degrees for 20 to 25 seconds is a normal starting point. For a polyester shirt with a sublimation print, go up to about 385 to 395 degrees for 45 to 60 seconds, and use a pressing sheet so the platen never touches the ink directly. For heat transfer vinyl, follow the vinyl maker's chart instead of mine, because every brand of vinyl behaves a little differently.
The listing gives an upper temperature rating of 500 degrees F even though the controller will let you set higher, and I stay well under that ceiling on purpose. Very few shirt projects need to be above 400. If a project calls for more than that, the blank is probably not the right blank for this machine. A cheap infrared thermometer is worth owning, because the readout tells you what the controller is aiming for, not what the pad surface is actually doing.
Step 3: Pre-press the shirt before anything goes near it
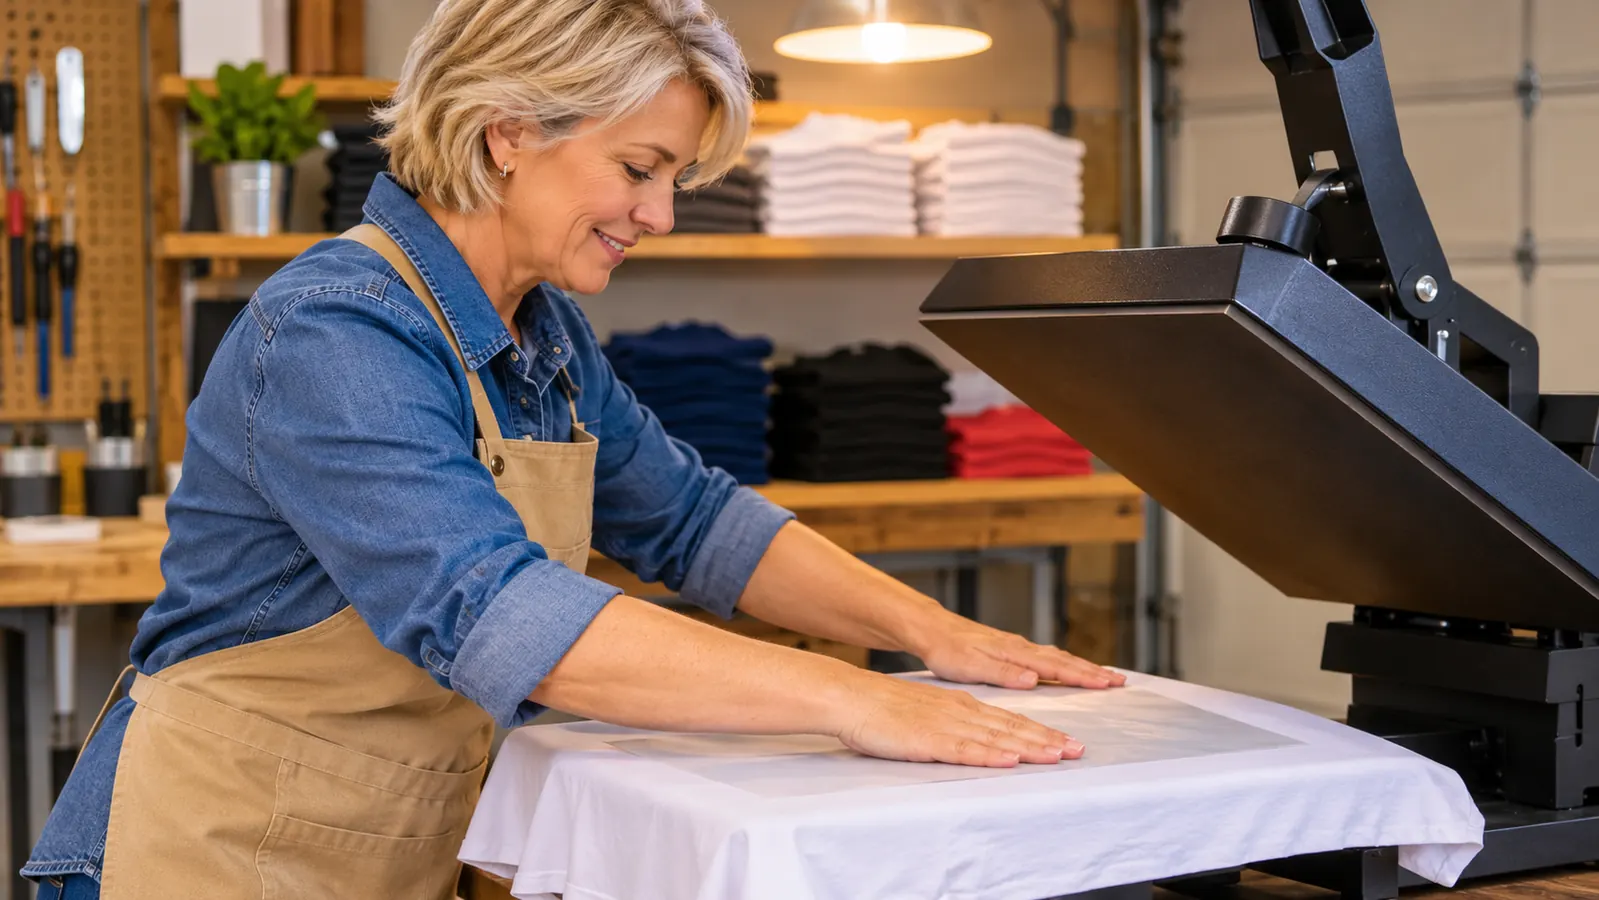
Pre-pressing is the step beginners skip and then blame on the transfer. Cotton holds moisture from the air in your garage, and that moisture turns to steam under the platen. Steam is what makes a print look milky at the edges or start lifting after two washes. Close the press on the bare shirt for about five seconds before anything goes on it, then let it cool for a couple of seconds. You will watch the shirt flatten out and the wrinkles leave.
While the shirt is flat, look at it properly. Check the seam at the shoulder and the fold down the middle. A shirt that came out of the dryer and sat in a basket has creases that will press themselves straight into your transfer. Get it on the lower pad with the print area centered, seams flat and nothing bunched underneath. A 15 by 15 inch platen covers the front of a medium or large tee in one pass. A 2XL or a full back print takes two presses, and the second one needs a careful overlap so you do not end up with a visible line across the design.
Step 4: Place it, press it, and know when to peel
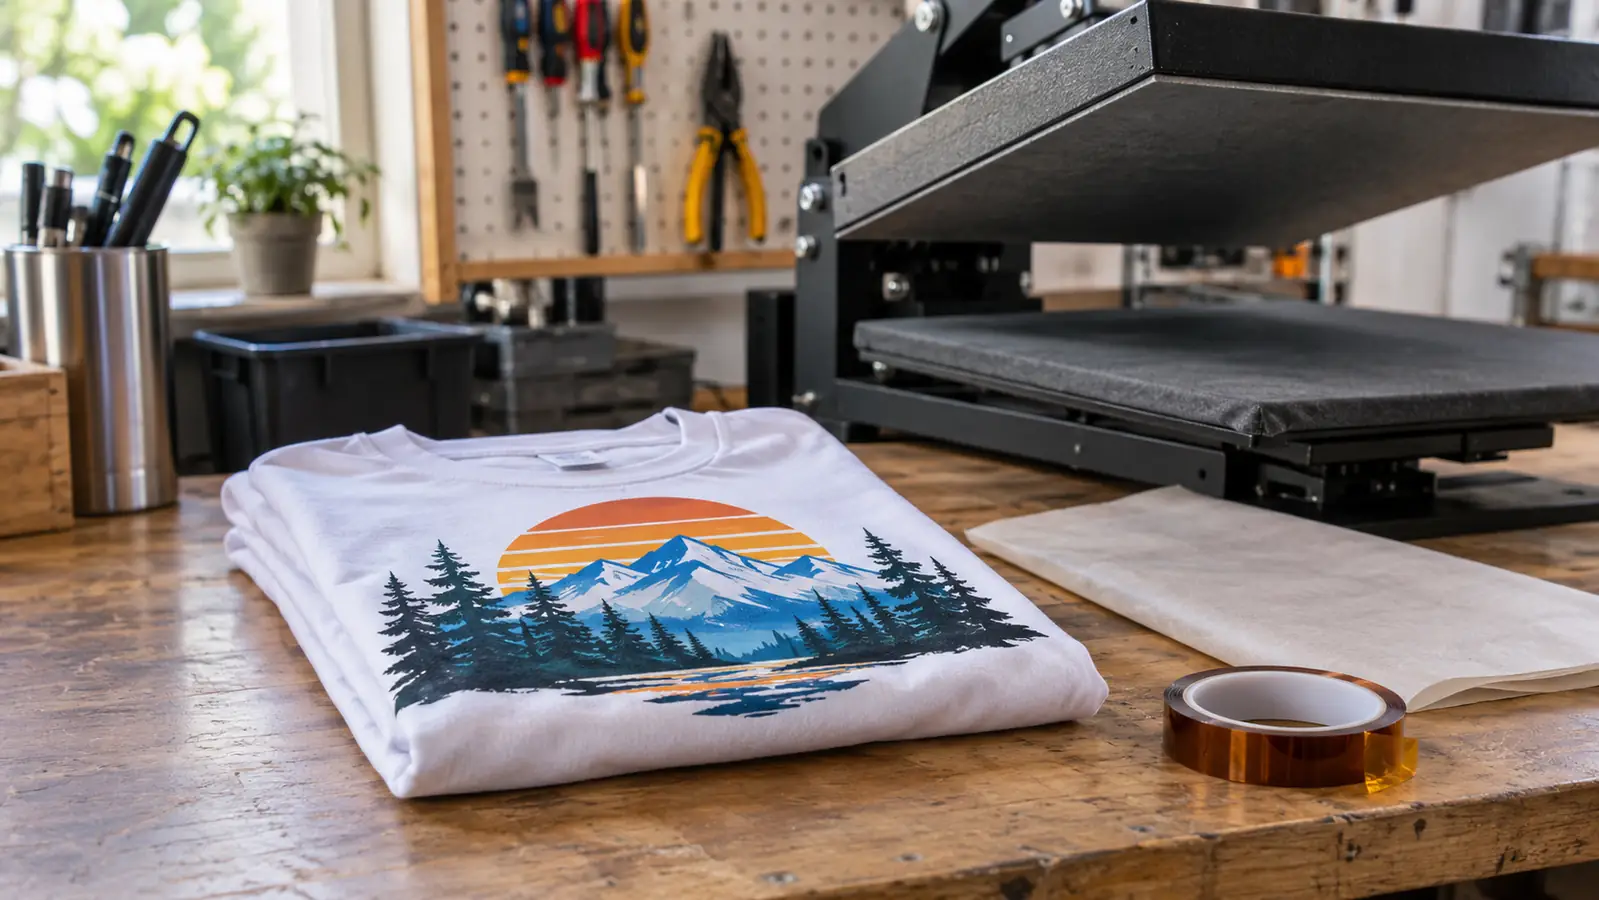
This is where you slow down. Place the transfer, tape the corners down with heat tape if it wants to move, and check it from two angles before you close the press. Once the platen touches it, that first contact is the print. Shift it after that and you get a ghost, which is a faint double image no amount of repressing will remove.
Pressure is the variable nobody explains and the one that decides whether the edges of your transfer come out sharp. The weight of the platen should be doing the work. If you find yourself leaning on the machine with both hands to get a result, the temperature is probably low or the transfer is old, and pressing harder is covering for it. On the other hand, if the print looks faint and the shirt is not scorched, you may need more pressure rather than more heat. Change one variable at a time or you will never know which one fixed it.
My first three blanks died because I kept turning the heat up. The number on the readout was fine. The shirt was damp and I was pressing it for half as long as I should have been.
Peel when the transfer maker tells you to peel, not before. Most screen print transfers want a cold peel, meaning you wait until the shirt is comfortable to touch. Most heat transfer vinyl wants a warm peel while the carrier is still slightly tacky. Sublimation is different again: pull the paper hot, in one smooth motion, holding the shirt down so it does not travel with the paper. If the paper sticks, let it cool and try again rather than yanking at it.
A second press of five to ten seconds with a pressing sheet on top sets the print into the weave and takes the plastic shine off. The Fancierstudio platen comes with a Teflon coating, which helps with that shine, but I still put a sheet between the platen and any transfer I care about. Sheets are cheap, they keep the platen clean, and a clean platen is most of the difference between a print that looks professional and one that looks like a hobby.
Step 5: Fix the mistakes you will actually make, then run the next one
Faint edges on a finished shirt mean one of two things: not enough pressure or not enough time. Repress it for another ten seconds with a sheet over the top before you write the shirt off. Scorch marks are the opposite problem and they do not come out. If the shirt has a brown shadow across it, the temperature was too high or the press sat too long, and the honest move is to set it aside as a practice blank and start fresh.
A double image is almost always movement, either the transfer sliding when you closed the press or the shirt shifting on the pad. A lifted corner of vinyl usually means a cold peel where a warm peel was wanted. Both can sometimes be saved with a ten second repress under a sheet, and both are worth attempting before anything goes in the trash.
Keep the box and the paperwork. Fancierstudio lists a three month warranty on this press, which is short in the scheme of things, so you want the receipt in a drawer rather than an email inbox you will never search. Register it if the listing tells you to. If a controller starts drifting or the heat quits inside that window, you want to be the person who already has the paperwork in hand.
What Else Helps
A few small things make the first month much easier. A couple of pressing sheets, a roll of heat tape, a lint roller and a cheap infrared thermometer will cost less than one ruined order, and between them they solve most beginner problems. Keep a notebook or a note on your phone with every combination you try: blank, transfer, temperature, time, and how it came out. After twenty shirts you will have your own chart, and it will beat anything you find online because it is calibrated to your machine and your garage.
Pick a first project that forgives. One color, one side, a light shirt, a design with thick shapes and no fine lines. A single color logo on a cotton tee hides small sins. A photo-real sublimation print on a dark polyester shirt shows every one of them. Get three easy shirts under your belt before you take on the school mascot with nine colors and a gradient.
Practice on blanks you do not care about. Thrift store tees, misprints from a local shop, the shirts your family has already demoted to yard work. The point of the first ten presses is not to make something sellable, it is to learn what a good press feels and looks like so you can spot a bad one in two seconds.
Then build a rhythm. I press in batches now: pre-press five shirts, print five, peel five, and Gary folds and bags on the other side of the table while I keep the press working. It is not faster because the press is fast. It is faster because I stop handling every shirt four separate times.
Start on the machine that gets out of your way
15 by 15 inch pressing area, 1800 watts, electronic time and heat control, Teflon-coated platen, pressing sheet included. Nothing on it needs a manual after your first afternoon.
Amazon See the Fancierstudio 15x15 on Amazon →