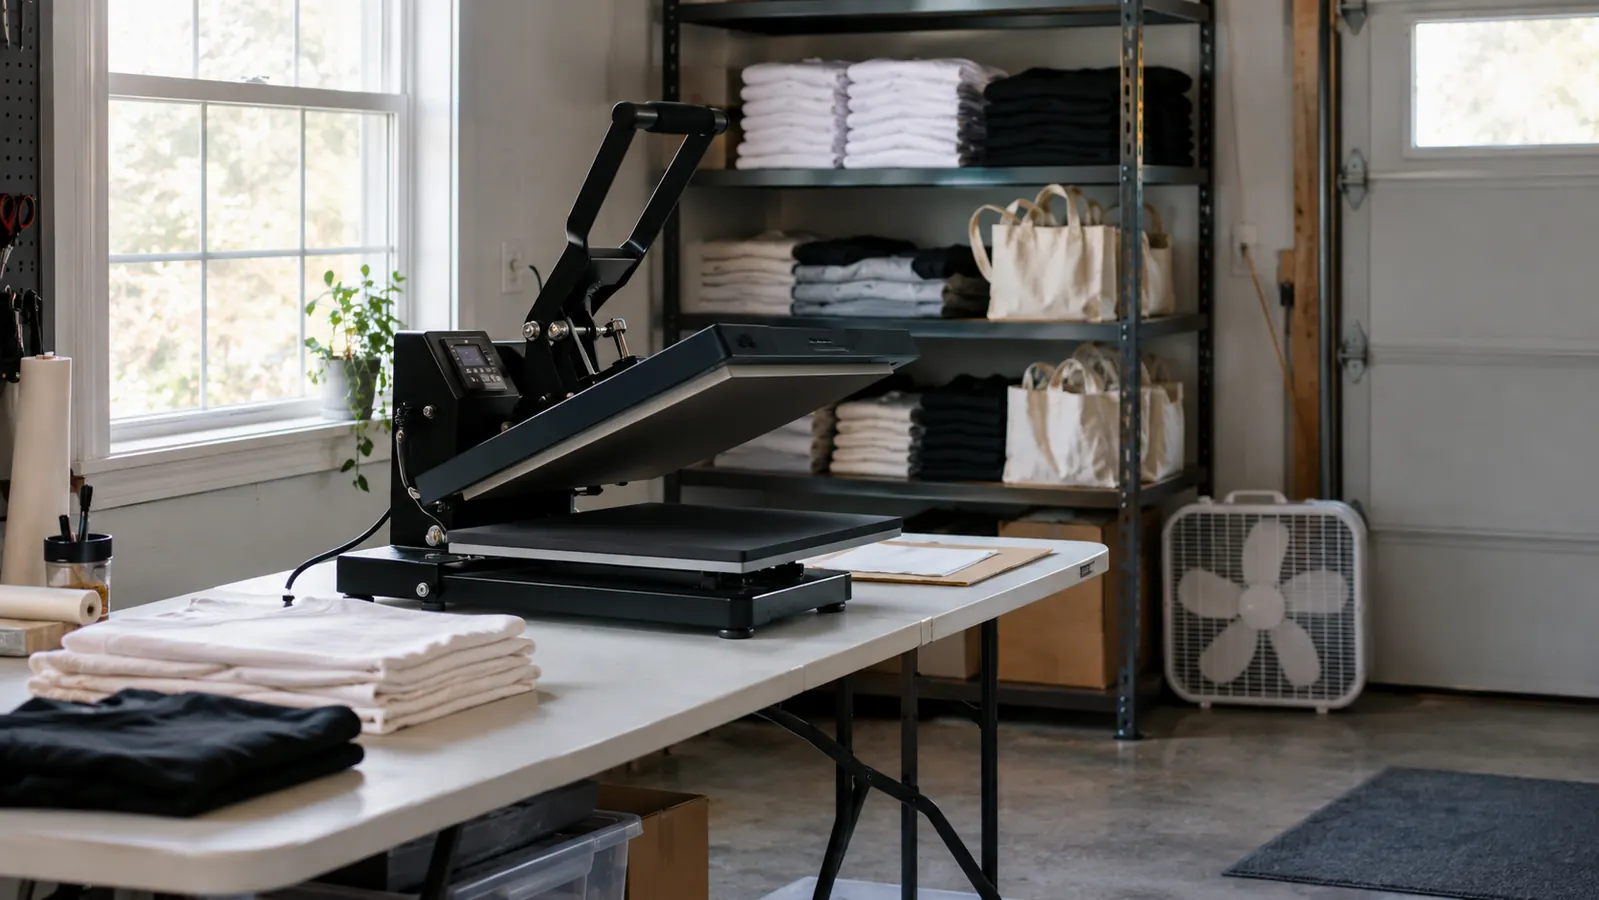
The first transfer I ever printed came out mirrored, and I did not find out until it was already pressed onto a white tee. I stood in my garage holding a ruined shirt and thought about how easy every tutorial made this look. If you have just set a heat press on a folding table and you are unsure what to do next, this is the walkthrough I wish someone had handed me four years ago. The Brother Sublimation Printer is what I run now, and it is a forgiving place to start, but the printer is one link in a chain. The paper, the app, the press settings and the order you do things in all matter.
So let us be clear about what the Brother does. It prints dye sublimation designs in color onto paper. It does not press anything, and it will not turn a blank into a finished item on its own. You still need a heat press, a blank and some patience. Once that is settled, the whole job is five steps: design in the Artspira app, send it to the printer, print the transfer, let it dry, and press it. The first time through, budget an hour. Most of that is you reading everything twice and checking the mirror setting, which is what I should have done.
The machine that prints the transfer, not the shirt
The Brother Sublimation Printer handles the ink side of the job and pairs with the Artspira app on your phone or tablet. You bring the press, the blank and the design.
Amazon Check Today's Price on Amazon →Step 1: Download the Artspira app before you unbox anything
This is the step people skip, and then they sit with a printer that seems to do nothing. The Brother Sublimation Printer is built around the Artspira Creative App for your phone or tablet, and the listing says it plainly: to start using the printer for DIY crafts, download Artspira first. Do that while the box is still on the floor. Set up an account, poke around the design area, and let the app find the printer. Doing this before you load paper means you are not troubleshooting two things at once.
One thing the app does that I underestimated: you can import and save up to 20 printing images. Twenty does not sound like much until you realize it means your regulars. My grandson's baseball league logo, the church group's verse, the two small business logos I do repeat work for, all sit there waiting. I stopped rebuilding the same design from scratch every season. If you are taking orders from local teams, that alone saves you a chunk of an evening.
Work through the app's guided flow once with nothing on the line. It walks you through creating a design, transferring it, printing, heat pressing and finishing. Run it with a scrap blank you do not care about. The point is not to make something sellable. The point is to see the whole chain once so the real order does not surprise you.
Step 2: Give the printer a permanent spot on your table
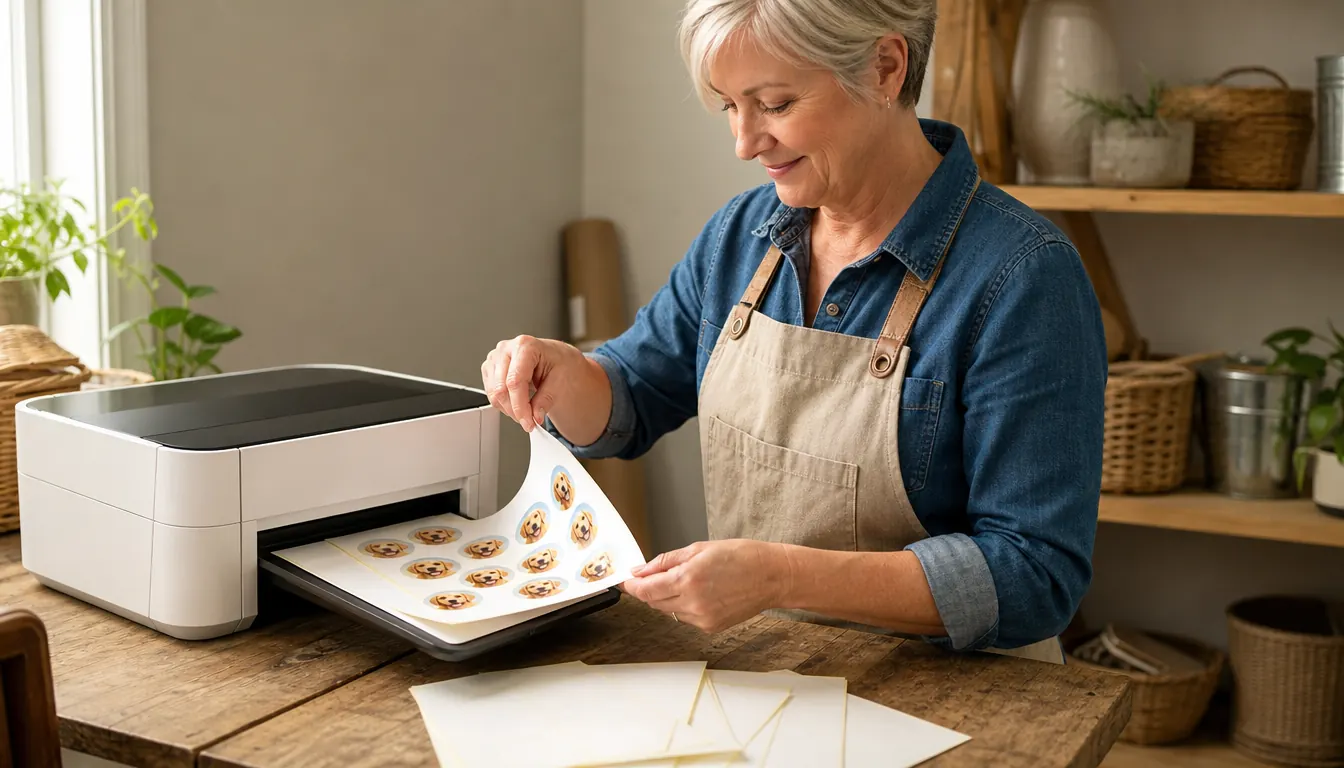
The Brother measures 20.1 inches wide, 19.1 inches high and 10.8 inches deep, and it weighs 7.9 pounds. That is smaller than I expected and light enough for one person to lift, which matters when your work space doubles as a garage. What it is not is something you want to move every time you use it. Find a spot on the table beside the press, not in front of it, and leave it there. The paper path and your muscle memory both depend on the machine staying put.
Leave clearance behind the unit for the paper to travel and clearance in front for the sheet to come out without curling into the press. I learned that the hard way with a stack of blanks sitting right where the output lands. Now the blanks live on the shelf and the output area stays clear. If your garage gets dusty, and mine does, wipe the table down before you print. Dust on a transfer shows up as a speck on a shirt, and a speck on a shirt is a redo.
The control panel is an LCD screen with touch controls, so most of the setup happens with a finger rather than a computer. Compatible devices are listed as PC, and the app for phone or tablet is where the design work lives. You do not need a laptop on the table. You do need the printer sitting level, because a wobbling table and a full sheet of transfer paper are not friends.
Step 3: Build the design and fix the mirror before you print
Here is where my first shirt died. Sublimation ink goes onto paper, and then the paper goes face down on the blank, so the image has to print in reverse to come out right. Every beginner hits this once. Check the mirror or flip setting in the app or in the print dialog before you commit, and then check it again on a scrap sheet. The Brother prints in color, in cyan, magenta, yellow and black, and it prints exactly what you send it. It has no idea you meant to flip it.
Build the design at the size you actually want on the shirt, not the size that fills the screen. A design that looks generous on a phone can print small, and a small transfer on a large shirt reads as a mistake. Measure the blank first. For a standard adult tee, I lay the blank flat, decide where the design should start and stop, and write those numbers down before I open the app. Then I build to those numbers.
Keep the first design simple. One color, one line of text, or a single logo file. Complicated gradients and photographs can come later. What you are testing on this first run is orientation, size and the paper path, and a simple design makes a wrong result obvious. A busy design hides its own mistakes until the shirt is already pressed and cooling on the towel.
Step 4: Print the transfer, then leave it alone
Load the transfer sheet, send the job from the app, and watch the first one come out. The printer handles fabric and thermal paper as print media, and sublimation transfer paper is its own animal: it is coated, it is not copy paper, and the coated side has to face the ink. If your first print looks faint or patchy, check which side you loaded before you touch any settings. That is the most common cause by a mile and it costs nothing to check.
Then let the sheet dry. Fresh sublimation ink is wet, wet ink smears, and a smeared transfer is a smeared shirt. I set mine flat on a clean sheet of scrap paper, printed side up, and I leave the room. Touching the corner to see if it is ready is how you get a fingerprint permanently pressed into a tote bag. Give it a few minutes. If the paper feels cool and the ink looks matte rather than shiny, it is ready to handle.
Trim the margins if you want a clean edge. Extra paper around a design can leave a faint ghost line on the blank if the press touches it, especially on light colors. Scissors are fine. I keep a small pair on the shelf next to the blanks and cut while the previous item is pressing. It is dead time otherwise, and dead time is the thing that makes this work feel slower than it is.
Step 5: Press it, peel it, and write down what worked
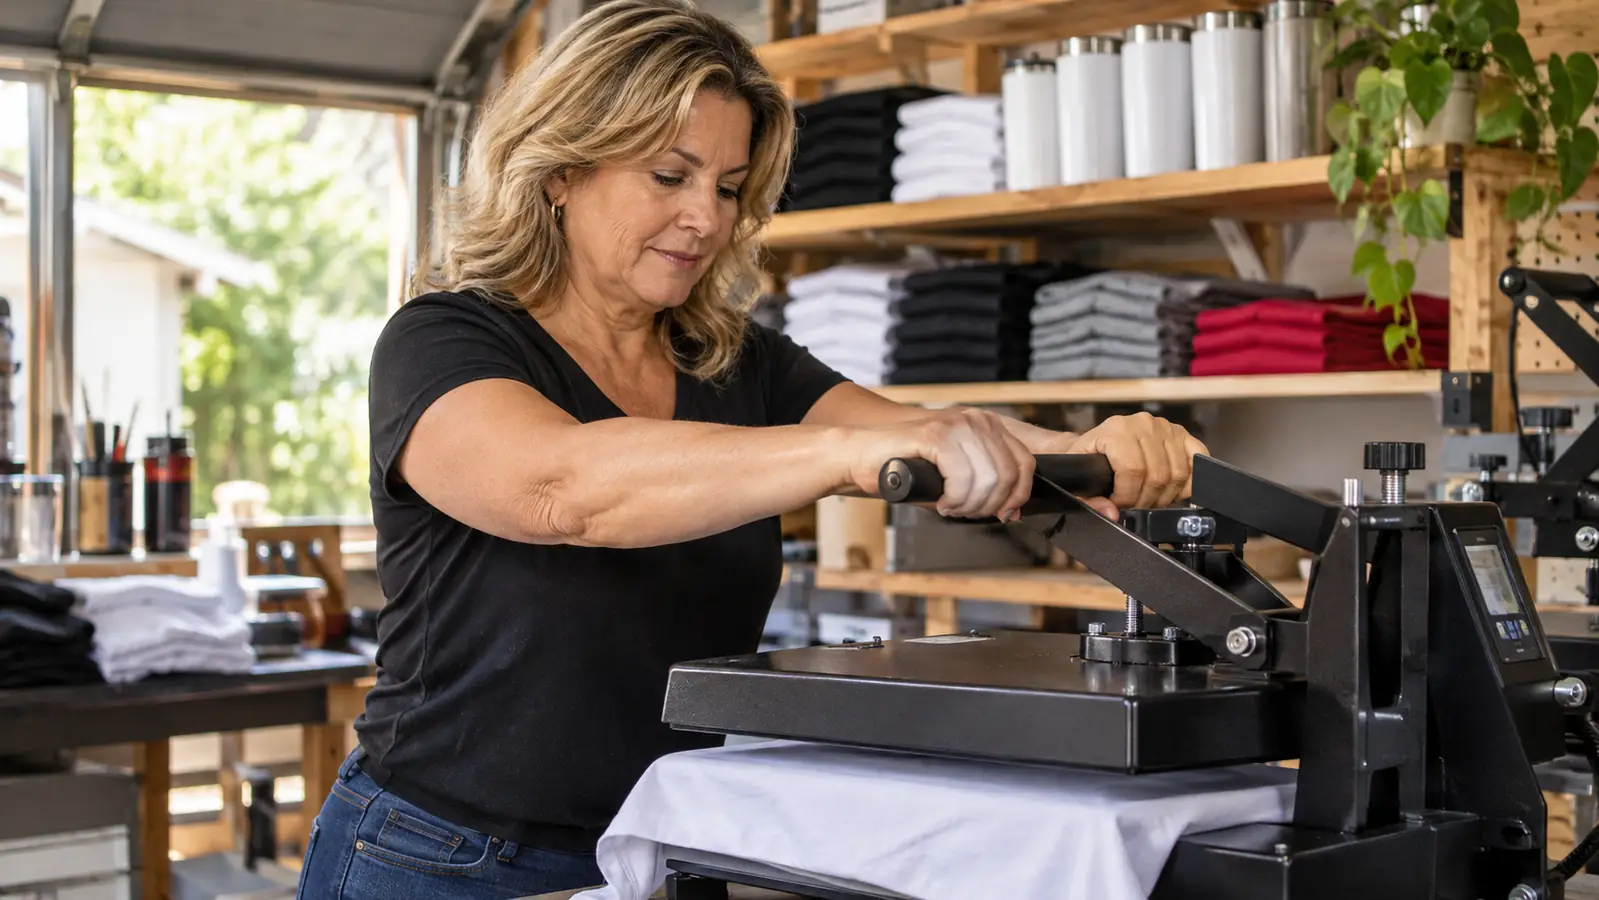
Set the press to the temperature and time your blank and paper call for. For a polyester tee I run about 385 degrees for 60 seconds at medium pressure, and I always test a scrap before I trust any number on a blank I have not used before. Put the transfer face down on the shirt, cover it with a protective sheet if your press needs one, close the press and let the timer do the work. Do not open it early to peek. Peeking is how you get a half-transferred design with a hard line through the middle.
When the timer goes, open the press and peel the paper while it is still hot, in one steady motion, holding the shirt down with your other hand. If the shirt shifts, the design smears and there is no fixing it. Then set the item aside to cool completely before you fold it or bag it. I keep a clean towel on the far end of the table for cooling pieces, because a warm shirt folded into a bag picks up creases you cannot press back out later.
Last thing, and this is the one that actually made me better: keep a notebook. Blank type, press temperature, time, pressure, whether the peel was hot or cold, plus a note on how it came out. Four years in, I still check mine before a run of something I have not made in a while. The Brother prints the same job the same way every time. The variable is the press, the blank and me.
What Else Helps
Two smaller things made a real difference for me. First, keep a scrap bin. Mine is a cardboard box under the table, and every new blank or new setting gets tested on something out of that box first. A ruined scrap costs almost nothing next to a ruined order. Second, batch your printing. Color jobs on any sublimation printer are not instant, so sending two or three transfers in one sitting and then pressing them back to back beats printing one, waiting, pressing, and starting the whole thing over.
The warranty on the Brother is listed as limited, so register the machine when it arrives and keep the receipt somewhere you can actually find it. That is boring advice and I ignored it on my first printer. Also note the scan function among the additional printer functions. It is not why you bought the machine, but it is handy when a customer hands you a paper flyer with a logo on it and asks whether that can go on a shirt. It can, and you do not need a second device to get it in.
And read the app's flow once more after your first finished item. The first time through, you are following arrows. The second time, you notice the parts that matter to your own work: where files are saved, how a design is sized, how a job gets sent. That second pass is where the Brother stops being a new gadget on the table and starts being a tool you can run on a Tuesday night with the game on in the background.
The Brother prints the same job the same way every time. The variable is the press, the blank and the person running it.
Start on a scrap shirt, not a customer order
Download the Artspira app, register the Brother Sublimation Printer, and run the whole chain once on a blank you do not care about. Five steps, one evening, and the process stops feeling like a puzzle.
Amazon Check Today's Price on Amazon →